Table of Contents
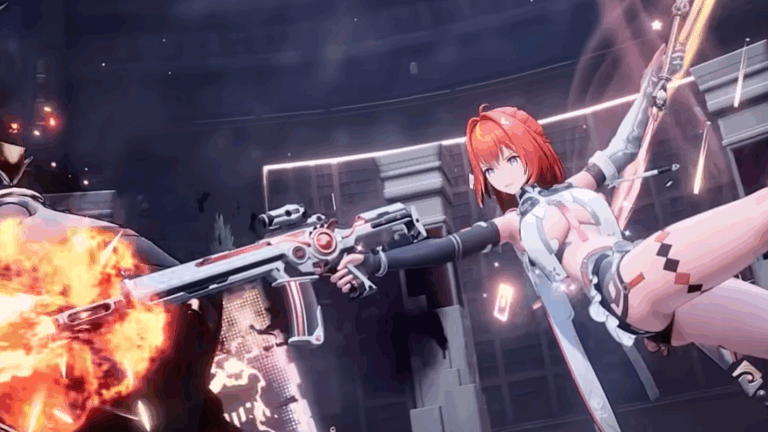
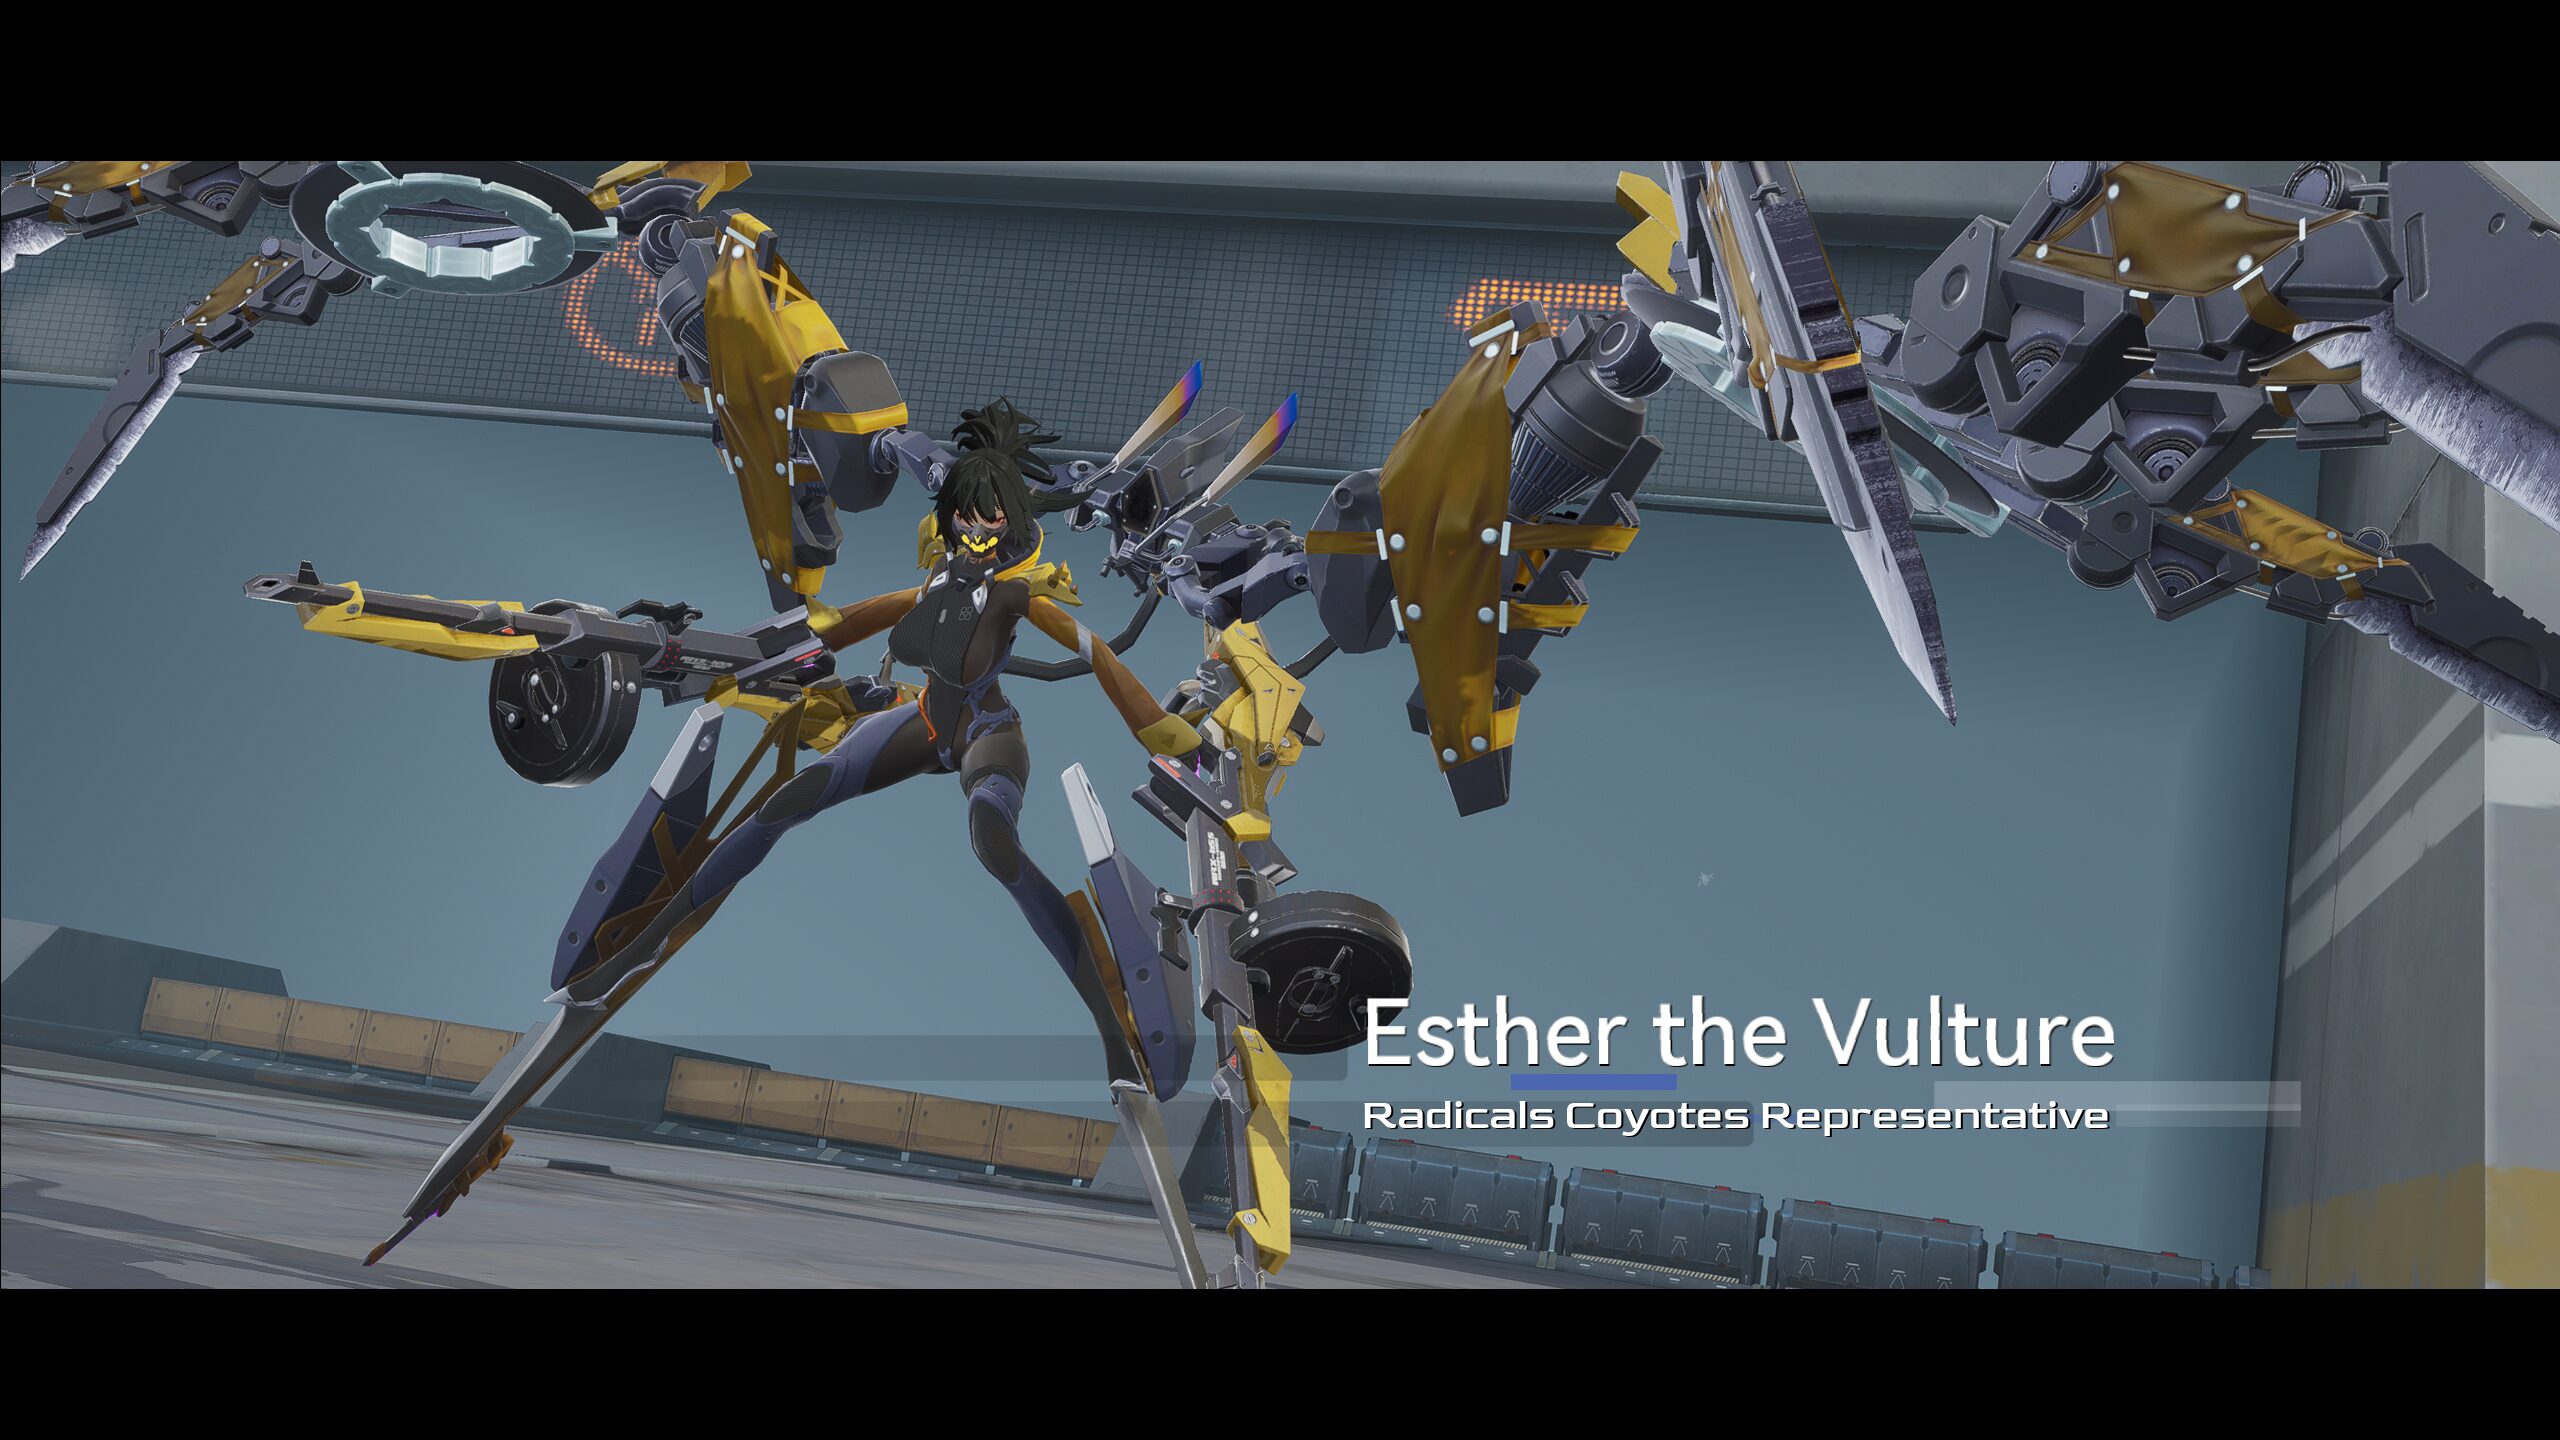
Esther, also known as "The Vulture," is one of the in-universe leaders of the Coyote faction. She was the featured boss of main story chapter 9, and is relatively unique among bosses in that she solely relies on her mobility as a defensive tool. This ends up being... not that effective.
Attacks and Behaviour
Esther has two phases. You may notice that at higher difficulty levels, Esther is claimed to directly start in phase 2:

Yeah... that doesn't happen. She still starts in phase 1, even at maximum difficulty. This is actually a good thing though, and you'll see why later.
Phase 1
Strafe Shot
Esther dashes in a direction, then fires a burst of bullets at you. They don't really do much damage (even when it's increased at higher difficulty levels), and the larger annoyance comes from having to track her when she dashes. Because of how little damage this attack does, and the random spread making it inconsistent to sidestep, I wouldn't really bother with evasive maneuvers. This seems to be her preferred attack in phase 1, so get used to seeing it a lot.
Ground Shot
Esther dashes in a spiral before landing to fire a burst of bullets at you. She then flies up in another spiral. Like her strafe shot, the damage isn't very high and the bullets have a large spread, so you're better off trying to track her during her landing and takeoff, then dumping damage into her while she's actually sitting still.
Missile Strike
Esther fires a volley of ground-targeted missiles at you. Each individual missile doesn't do a lot of damage, so you can get tagged by one or two without worrying too much about it. You can also easily get out of the targeted area with a dodge, even at higher difficulty levels where Esther will fire more missiles that fly faster. Note that the visual effects of the missiles might make it difficult to see where Esther's flown off to, so be aware of that.
Ground Strike
Esther charges at you and smashes down at a ground-targeted area, knocking you back on hit. Stay out of the circle and it's a freebie. She even stays there for a while after to let you free hit.
Whirling Bombardment
Esther dashes towards and past you, dropping explosive mines that detonate shortly after landing. At higher difficulty levels, this detonation is delayed, but they will also instantly detonate on contact. Despite what it may seem, Esther actually doesn't hit you with her charge, but the mines will stagger you if you're caught in the blast, so it's still ideal to stay out of the path of her charge.
Phase 2
Once Esther reaches 70% HP, she will enter a downed state, immediately ending any of attacks or actions.
This state lasts for roughly five seconds, letting you freely attack her at no risk. After recovering, Esther transitions to phase 2. She largely retains the same moveset, but with some alterations.
New(ish) Attacks
Esther's strafe shot now takes one of two variations. The first is essentially the same, but with an added volley of ground-targeting missiles. The second has Esther do a longer dash with a longer bullet burst, repeated four times. The former is functionally the same as the phase 1 version, but the latter can be a bit trickier to track. Both variations are still not particularly threatening.
The ground shot attack now instead releases a fiery depth charge that follows you, staggering on hit. It's a negligible threat on its own, but it can catch up and take you by surprise if you tunnel vision too hard on Esther or her other attacks. Stay alert.
Finally, Esther's ground strike now includes three follow-up spin dashes. These knock you back on hit, and actually do quite a bit of damage. However, it seems that Esther loses track of where you are after the first spin and just continues in one direction for the last two, which looks pretty silly but also gives you a free DPS window.
Strategy
HP: 1,287,354
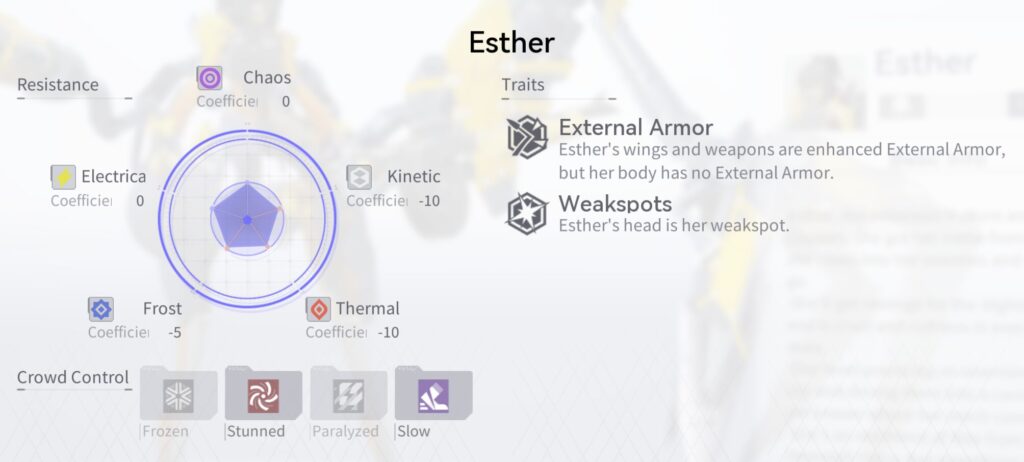
Clocking in with one of the lowest HP values among Neural Sim bosses, Esther also has no way of mitigating the damage you deal, only being able to dash around and hope that you miss your shots. Combine this with relatively low-threat attacks that only become dangerous in extended fights where the chip damage stacks up, and you get a boss that really lends itself to the age-old tactic known as "shoot it harder." Notably, Esther's 70% HP down phase is your chance to really pour on the hurt and potentially even finish her off before she can get back up. That juicy head hitbox is never as easy to hit as it will be then, so it can be worth considering saving your burst tools for then to maximize your damage.
Team Building
Being a squishy boss, Esther naturally becomes prey to all the premier burst DPS picks. While some options like Lyfe - Infinite Sight will be faster than others, there really isn't anything stopping you from using any competent DPS in your roster as long as you can maintain target access to lay down the hurt. This might seem impractical for some characters like Fenny - Coronet, but there are some tricks you can employ to get around that:

So you know how Mauxir - Shadow Ka's support skill creates a stationary target for you to shoot at and do damage to the enemy it's connected to? Yeah as it turns out, directly dealing damage to an enemy whose only defense is evasive maneuvers is pretty effective. To make it even better (for you), Esther having no way of prematurely ending the duration of Mauxir's support skill with invulnerability means that it's open season as soon as the target dummy hits the field.
But if you don't have Mauxir - Shadow Ka, or she's occupied on the other Sim boss of the week, you still have other options. Acacia - Redacted can apply a Slow to her, which reduces her mobility to a more manageable level. Similarly, you can Stun her with Haru - Absconditus or Eatchel - The Cub to also force Esther to temporarily sit down. Of course, you should also make sure to bring enough damage to properly take advantage of these moments of vulnerability, and pretty much all of the usual damage supports will work just fine here.