Table of Contents
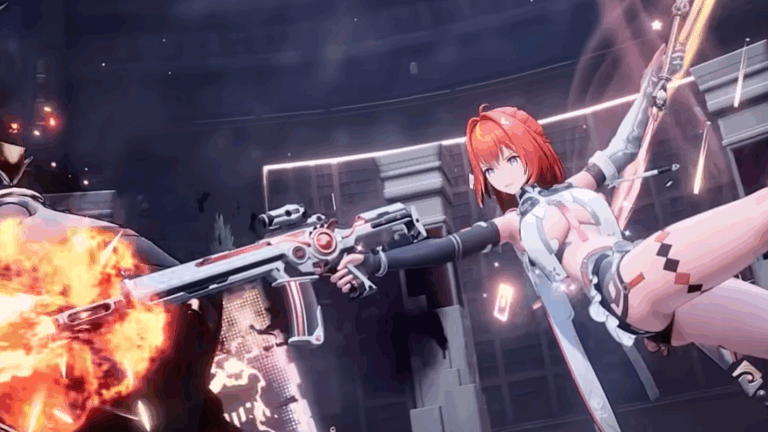
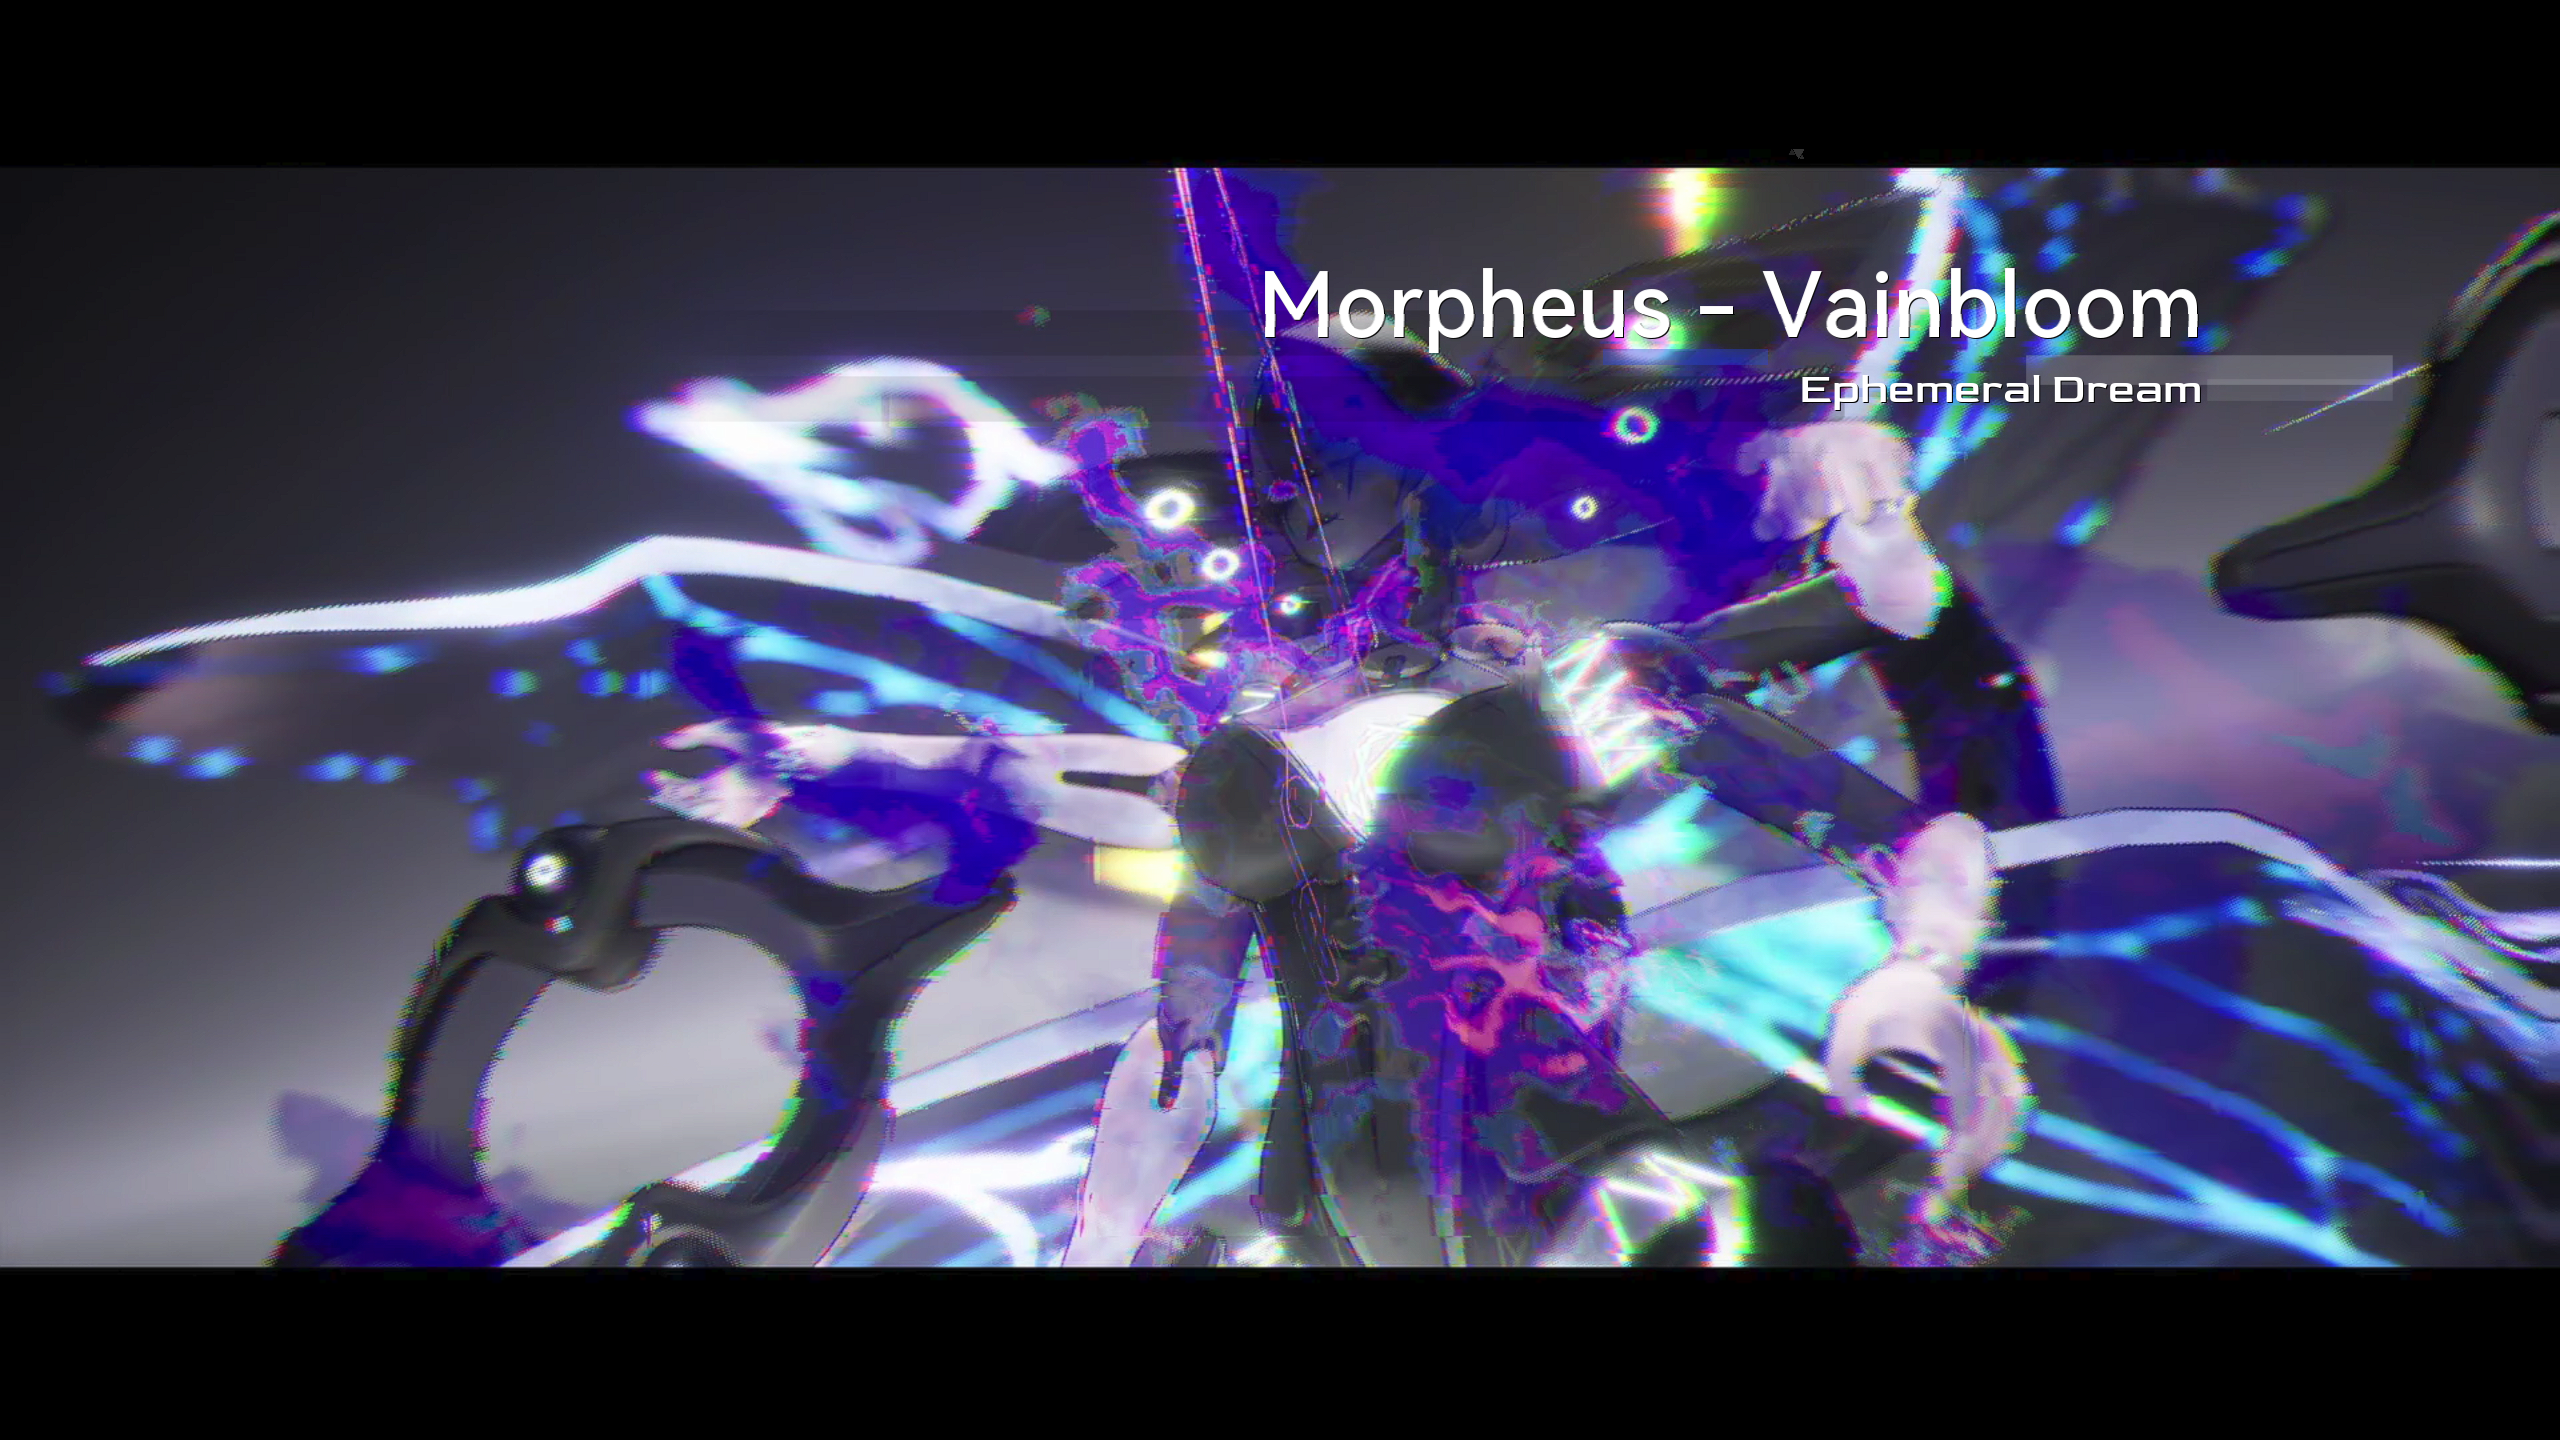
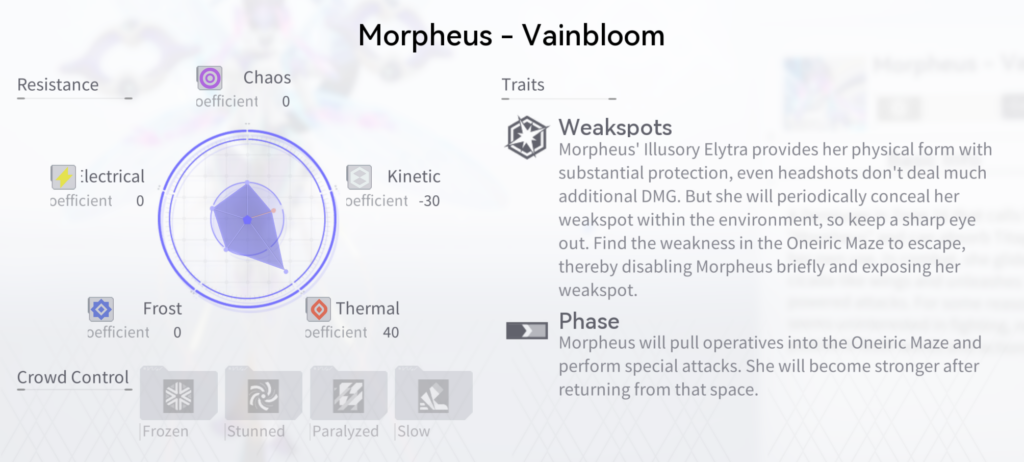
A Demiurge in Zone 16 that calls herself "Morpheus" and can absorb Titagen for her own use. In combat, she glides with cicada-like wings and unleashes Titagen-powered attacks. For some reason, she seems uninterested in fighting, remaining passive in both words and actions.
Back to Neural Simulation overview
Behaviour and Attacks
Morpheus has two phases, with minimal differences between the two.
Clones
Morpheus summons two enemies, and then hides inside one of them. To deal damage to Morpheus, you must attack the correct clone. In practice, this ends up being very easy as it's clearly marked.
It's also always the one on the left.
Morpheus will always prepare this attack eight seconds after the fight begins, fully merging into the summoned enemy by ten seconds.
If you kill the enemy before Morpheus exits on her own, it will force Morpheus back out.
In phase 2, four enemies are spawned instead, with Morpheus always hiding inside the second one from the left.
Spear Strike
Morpheus launches two pairs of spears at you, dealing damage on hit. These can be trivially sidestepped.
Deluge of Tears
Morpheus fires a barrage of projectiles towards you that deal damage on hit. The main attack doesn't seem to actually track you after it's fired, and the extra barrages on the side don't appear to target you at all, so this is very easy to sidestep.
Dreamlight Beam
Morpheus fires a beam at you, dealing damage and eventually also staggering. It does not follow your movements, so you can dodge away and ignore it afterward.
Mines
Morpheus summons lines of mines in an X shape across the map. These mines detonate when you get too close to them, but are otherwise harmless. This attack only occurs during phase 2.
Dreamseer Web
Morpheus summons three lines of laser beams that weave between each other as they move towards you. This is the hardest attack to avoid, but you can dodge to the side right before it reaches you to get out unharmed.
The Wall
Upon reaching 2/3 of its HP, Morpheus will teleport it and the player to a new area. Here, it will summon two walls that move towards you, each with a section with parts HP that can be destroyed to destroy the entire wall. Once both walls are destroyed in this manner, Morpheus is downed and you are both returned to the initial area. During the transition sequences, you can still freely move and attack Morpheus while it's invulnerable, even when the screen fades to black - don't miss out on these extra few seconds!
It is worth noting that Morpheus is not invulnerable for portions of the wall section, but has extremely high damage reduction. This is likely to allow for Enya - Tempest to charge up her standard skill against Morpheus to generate Wind Power and U-Energy for her abilities.
Strategy
If you've been looking at the various clips of Morpheus' move set, you might have noticed that it doesn't attack all that quickly. In some attacks, like the mines, Morpheus just floats around completely harmlessly. As a result, the optimal strategy ends up being to go full offense and ignore whatever attacks it tries to throw out.
Team Building
Enya - Tempest has multiple advantages against Morpheus, considering that this is the boss designed for her to do well against. The damage reduction period during the wall phase allows her to charge up her abilities, and Morpheus' critical hit damage reduction effect does not affect her meaningfully.
However, other DPS operatives can still find success here, as Morpheus' unthreatening nature does not impose many meaningful restrictions. Do remember to bring an operative that's at least half competent at breaking parts though, to quickly progress through the wall phase of the fight.
Example Runs
Enya - Tempest
23.5s clear
Operative Logistics Set Weapon M2 Enya - Tempest Gleam Squad T2 Amethyst Thorns M5 Tess - The Magician Hjartagard Squad T2 Eccentric Joker M5 Eatchel - The Cub Lux Squad T2 Blitzing Fang
Operative Logistics Set Weapon M0 Enya - Tempest Gleam Squad T1 Amethyst Thorns M3 Acacia - Kaguya Amarna Squad T1 Pine Aurora Mauxir - Meow
(Manifest level is irrelevant)Xinye Squad T2 Alloy Truth
Lyfe - Infinite Sight
33.0s clear
Operative Logistics Set Weapon M2 Lyfe - Infinite Sight Nova Squad T2 Nightborne Crown M3 Acacia - Kaguya Amarna Squad T5 Prismatic Igniter M1 Fenny - Starshine Reverie Squad T1 Heart Hunter