Table of Contents
Dawn Restored is the latest "Strike Battlefront" game mode, where you are tasked with clearing three stages at three different difficulty levels to obtain points based on your best score. You can also clear a series of mini-stages (called Encampments) that will give a one-time points boost and different buffs for the associated main stage. Increasing your points total will grant rewards, with the final reward being unlocked at 35,000 points.
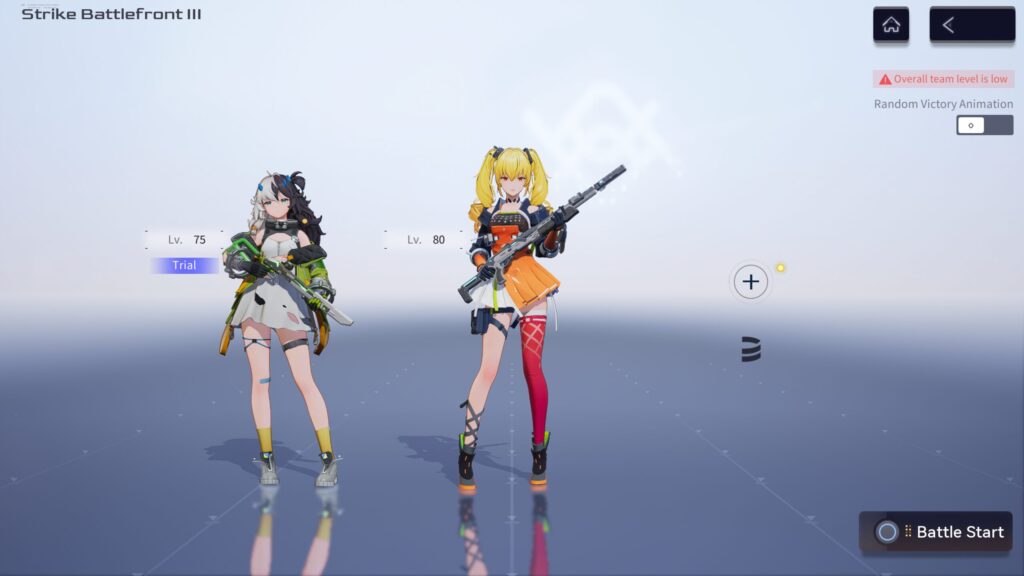
This is the fourth one released to date, and it's arguably the easiest one yet. This guide does not use any Encampment buffs, and only requires you to bring three of your own units! All three non-trial units used are also easily-obtainable SRs, making the barrier to entry the lowest it's ever been.
So don't be scared by the challenge. Come with me, and we'll show that points ladder who's boss (hint: it's you).
You Will Need
This is the bare minimum needed. Bringing more and better operatives will obviously make the process easier, so slot in upgrades where you can.
DPS (Just One)
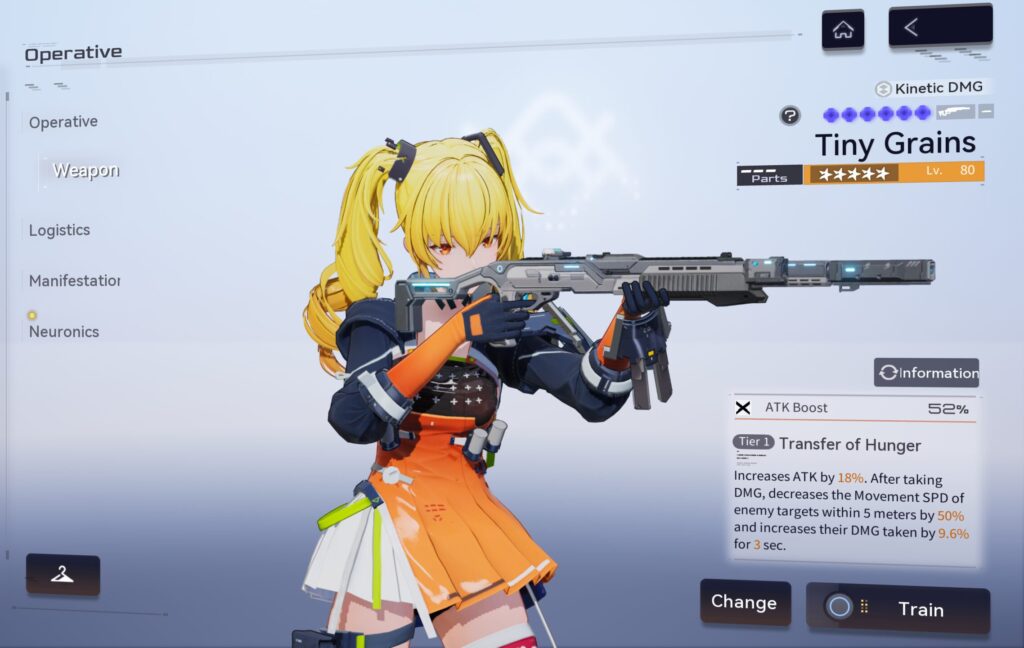

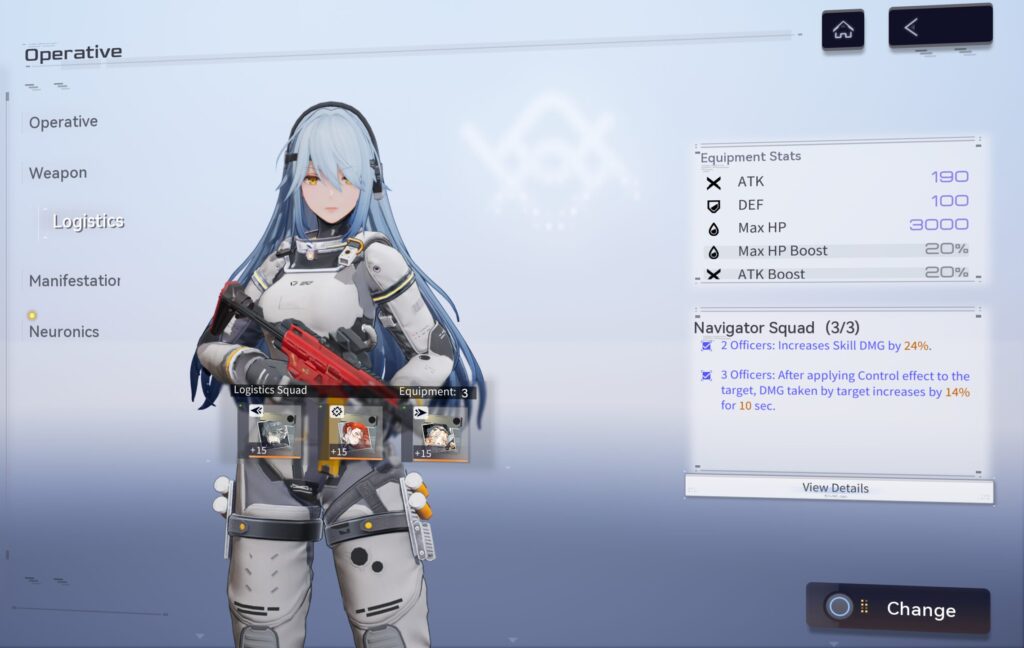
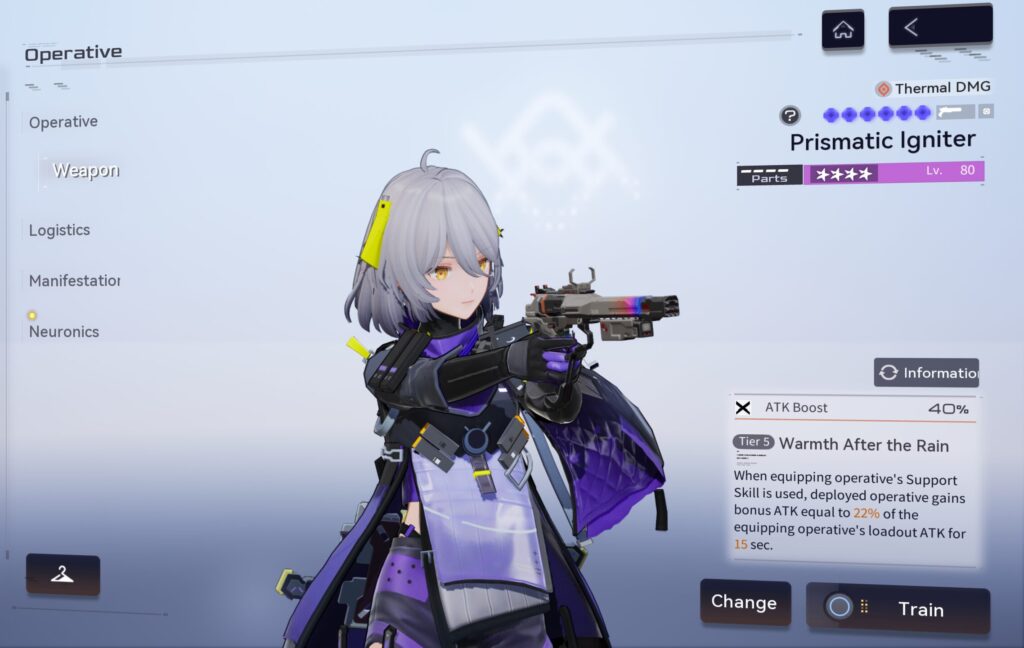
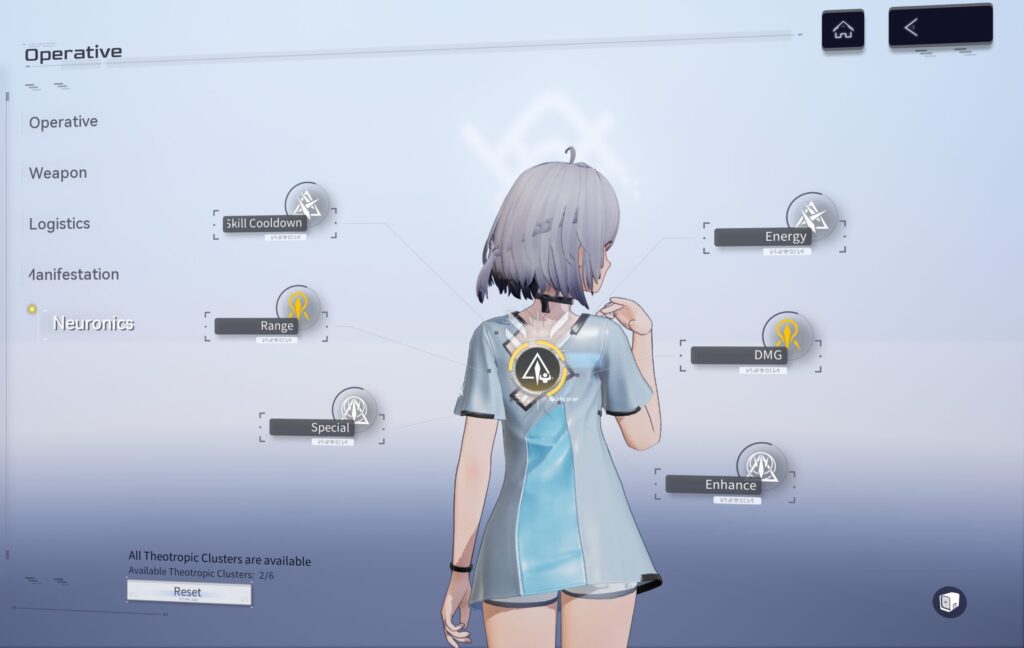
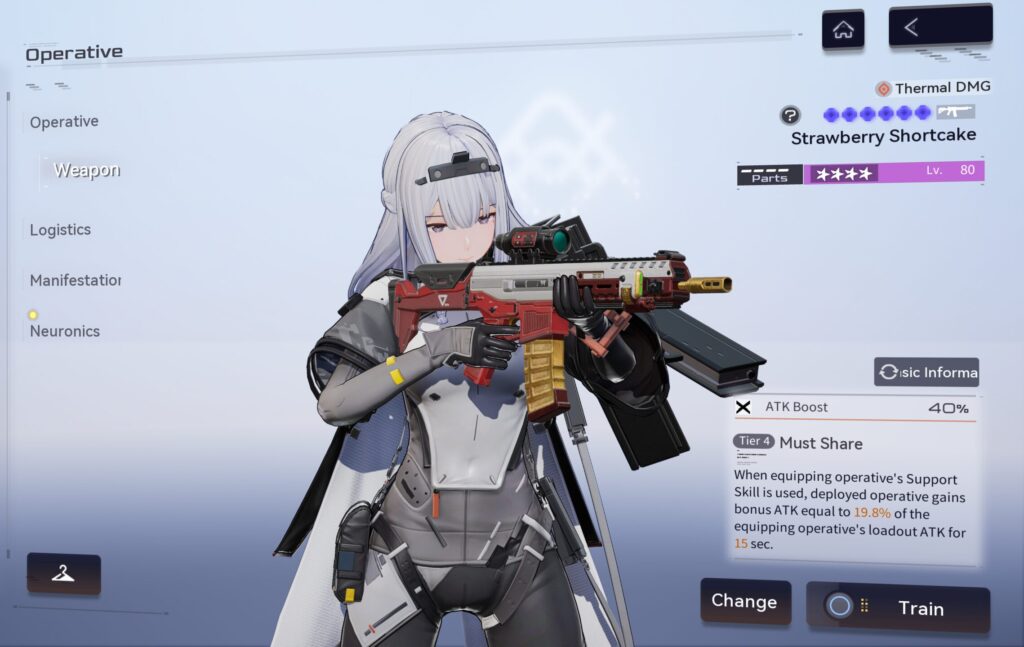
Everyone's favourite diva Fenny - Lionheart makes a return to continue running up to people and shooting them in the face. Tiny Grains is the weapon that I used, but you should be able to get away with basically any levelled offensive shotgun you have (though using a Kinetic shotgun will make things a bit easier as it gives you a shield when you use her standard skill). She'll be used for all three Strike stages, as the enemies there are all HP shield and no actual health, letting her use the extra effectiveness that ballistic damage has against shields to quickly pop enemies and chain skill resets from her first Manifestation. If you want to replace her with a more premium option, make sure it's also a gun DPS too so you don't lose that ballistic damage bonus.
Crowd Controllers (Optional)


Fenny's age-old rival Lyfe - Wednesday also tags along to provide some CC with her support skill to make the higher-difficulty Defense stages a bit more manageable. You could probably get away without using her, but she's a useful panic button for if you need to paralyze a group of enemies to buy some breathing room to deal with them.
If you really want to double down on the crowd control, you can even bring along Acacia - Redacted for some AoE slows:
I didn't end up using her, but she's an option if you really need it.
Healer (Yes)
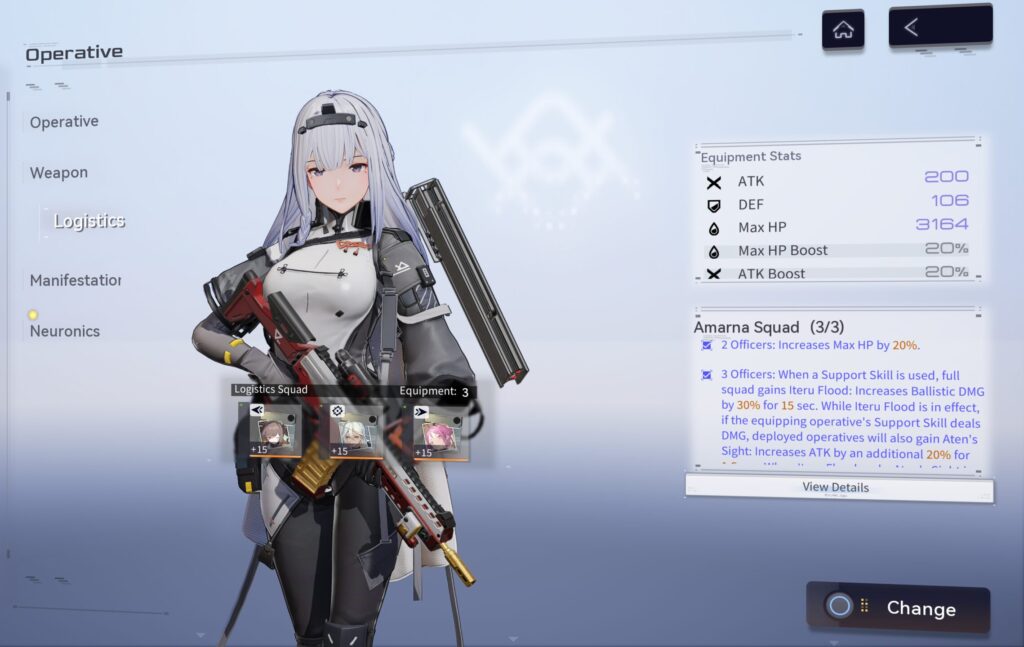

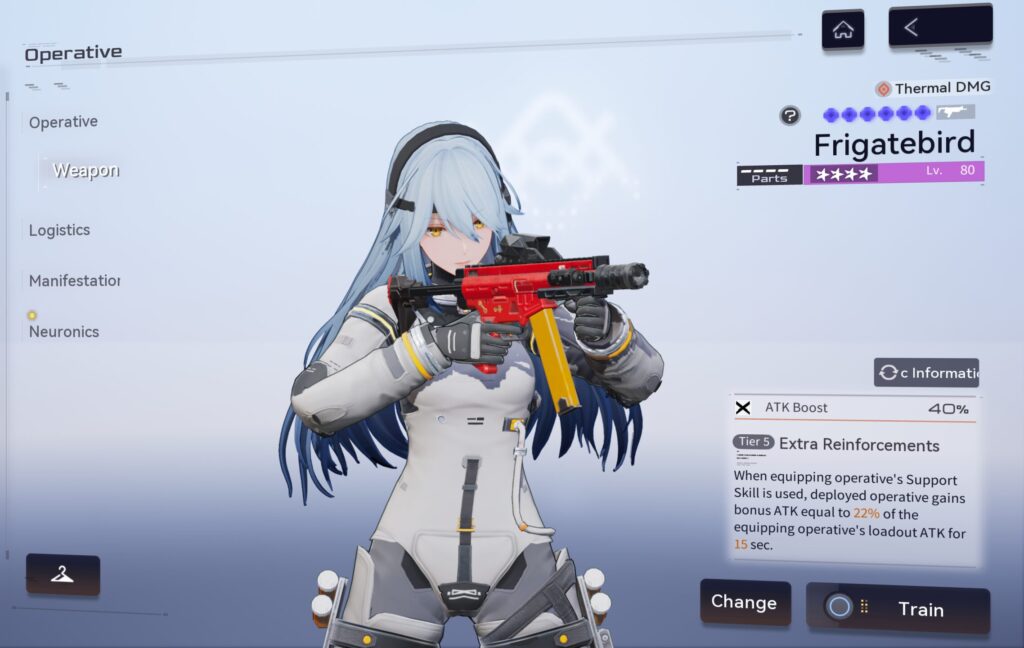
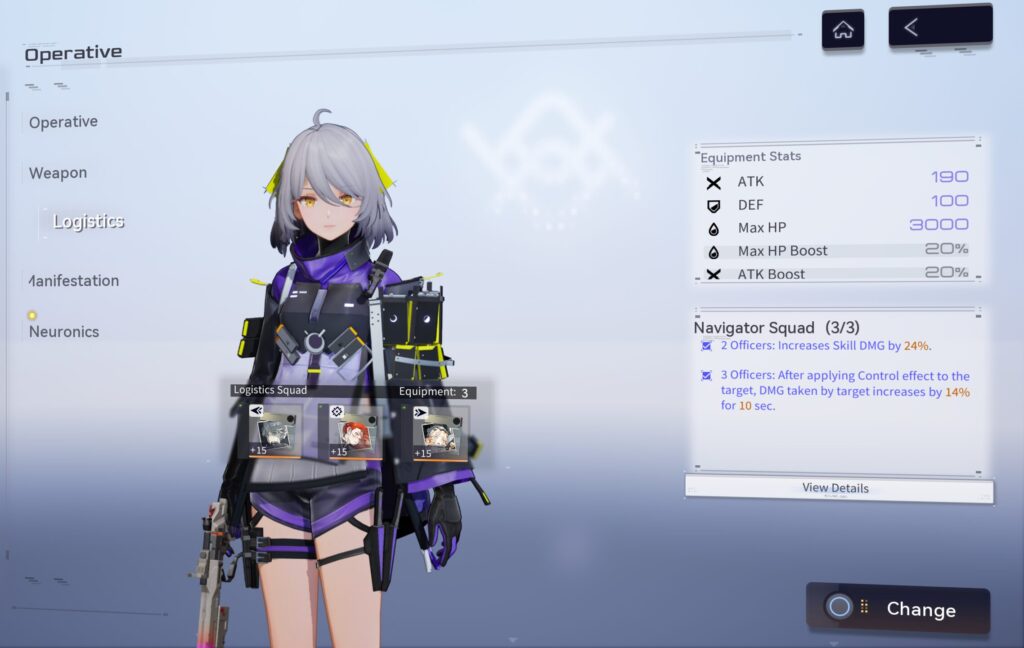
The Heavy battlefront rewards you for being as healthy as possible at the end of the mission, so bringing a healer is easy points in the bank (also the enemies actually kinda hurt at difficulty 3). You can use literally any healer you have, but Chenxing - The Observer will bring some extra skill damage buffs from her support skill. If you feel like you could use some extra healing, just double up and bring another.
First Encampments
Haha just kidding, there are none. You don't need any of the buffs to get the required amount of points, but some of them will make things easier. They'll be covered in more detail under the section for each battlefront, so let's move on to that.
Clearing Stages
You might notice that the score targets here are all quite high. Don't let that scare you, they're all very doable with the setups shown. Furthermore, the score targets here provide an extra 2,000 points of leeway, which means you definitely don't have to hit all of them.
Strike
Kill everything as fast as possible while staying as healthy as possible. The faster you kill things and the healthier you are at the end, the more points you get.
Yeah, this is really all you need. I feel like I've said this a lot already. Anyways, the gameplan is pretty simple: use your standard skill to dash to enemies with Fenny, shoot them until they die, and rinse repeat until everything is dead. Eatchel is really just moral support here keeping you topped up on health, and you can basically just pretend she's not there otherwise.
Score targets here are:
- Strike 1: 2000
- Strike 2: 2900
- Strike 3: 4700
If you need an extra boost, there are two Encampment buffs that will be especially useful:
- Armament: increases magazine capacity (available in difficulty 2 and 3)
- Pursuit of Annihilation: increases damage dealt to shields for every kill (available in difficulty 3)
Defense
Defend a gate and make sure no enemies escape, by means of lethal force. Not letting a single enemy get away earns a max score, with each enemy let through eating into that.

The most important skill to have here (besides good aim) is managing your firing modes on Katya. Make sure to use the AoE mode on big groups of enemies to take them out fast. As well, don't lose time reloading to swap fire modes; just dodge or enter your skill as soon as the reload begins to skip the entire animation.
Score targets here:
- Defense 1: 2000
- Defense 2: 3000
- Defense 3: 4700
If you're having trouble, make use of these two buffs:
- Flow: increases S-Energy regeneration rate, useful for getting extra skill uptime with Katya (available on all difficulty levels)
- Dyed Frost: deals AoE damage and freezes nearby enemies for 3 seconds after an enemy is killed (10 second cooldown, available on difficulty 3)
Heavy
Essentially the same to previous Pummel battlefronts where you deal as much damage to an enemy to gain more points. This time however, we have five enemies which is conveniently the number of enemies that Siris - Ksana can effectively deal damage to. Curious.

Charge into enemies with Siris, then pop your ultimate whenever it's up to nuke everything (try to get all the enemies targeted, as having multiple targeting stacks on one enemy will be less effective). For whatever reason, Seasun chose not to give the trial Siris her standard skill neuronics, which means you don't get the cooldown refund from detonating her shield and have to awkwardly stand around shooting enemies for a few seconds after. If you plan on using your own Siris instead, make sure you actually unlock those neuros. Seriously, what were they thinking?
Score targets here are a bit lower since navigating around the enemies that are immune to being knocked back by Siris (again, amazing gameplay choices by Seasun here) can be a bit of a pain:
- Heavy 1: 1600
- Heavy 2: 2400
- Heavy 3: 3700
All four of the Encampment buffs here are surprisingly useful, with Midsummer (Thermal damage boost) and Onslaught (active skill damage boost) being particular standouts.
Finishing Up Encampments
If you got anywhere near the target scores, you've probably reached the 25,100 point threshold needed to get all the rewards after you complete every Encampment. And if you thought these battlefront stages were easy, the Encampments are an absolute walk in the park. Well, probably. I'm writing this on day three of the event so I actually haven't gotten the chance to try any of them, but they've never been particularly difficult in the past so don't worry about it. If you haven't reached the required number of points, wait to get extra stage entries and clear a few Encampments to get buffs that will make help you get more points.
Once you do reach that 25,100 point threshold from your stage clears, sit back and relax as you slowly clear out the rest of the Encampments and eventually reach 35,000 points for your shiny new profile border. See? I told you it was easy.