Table of Contents
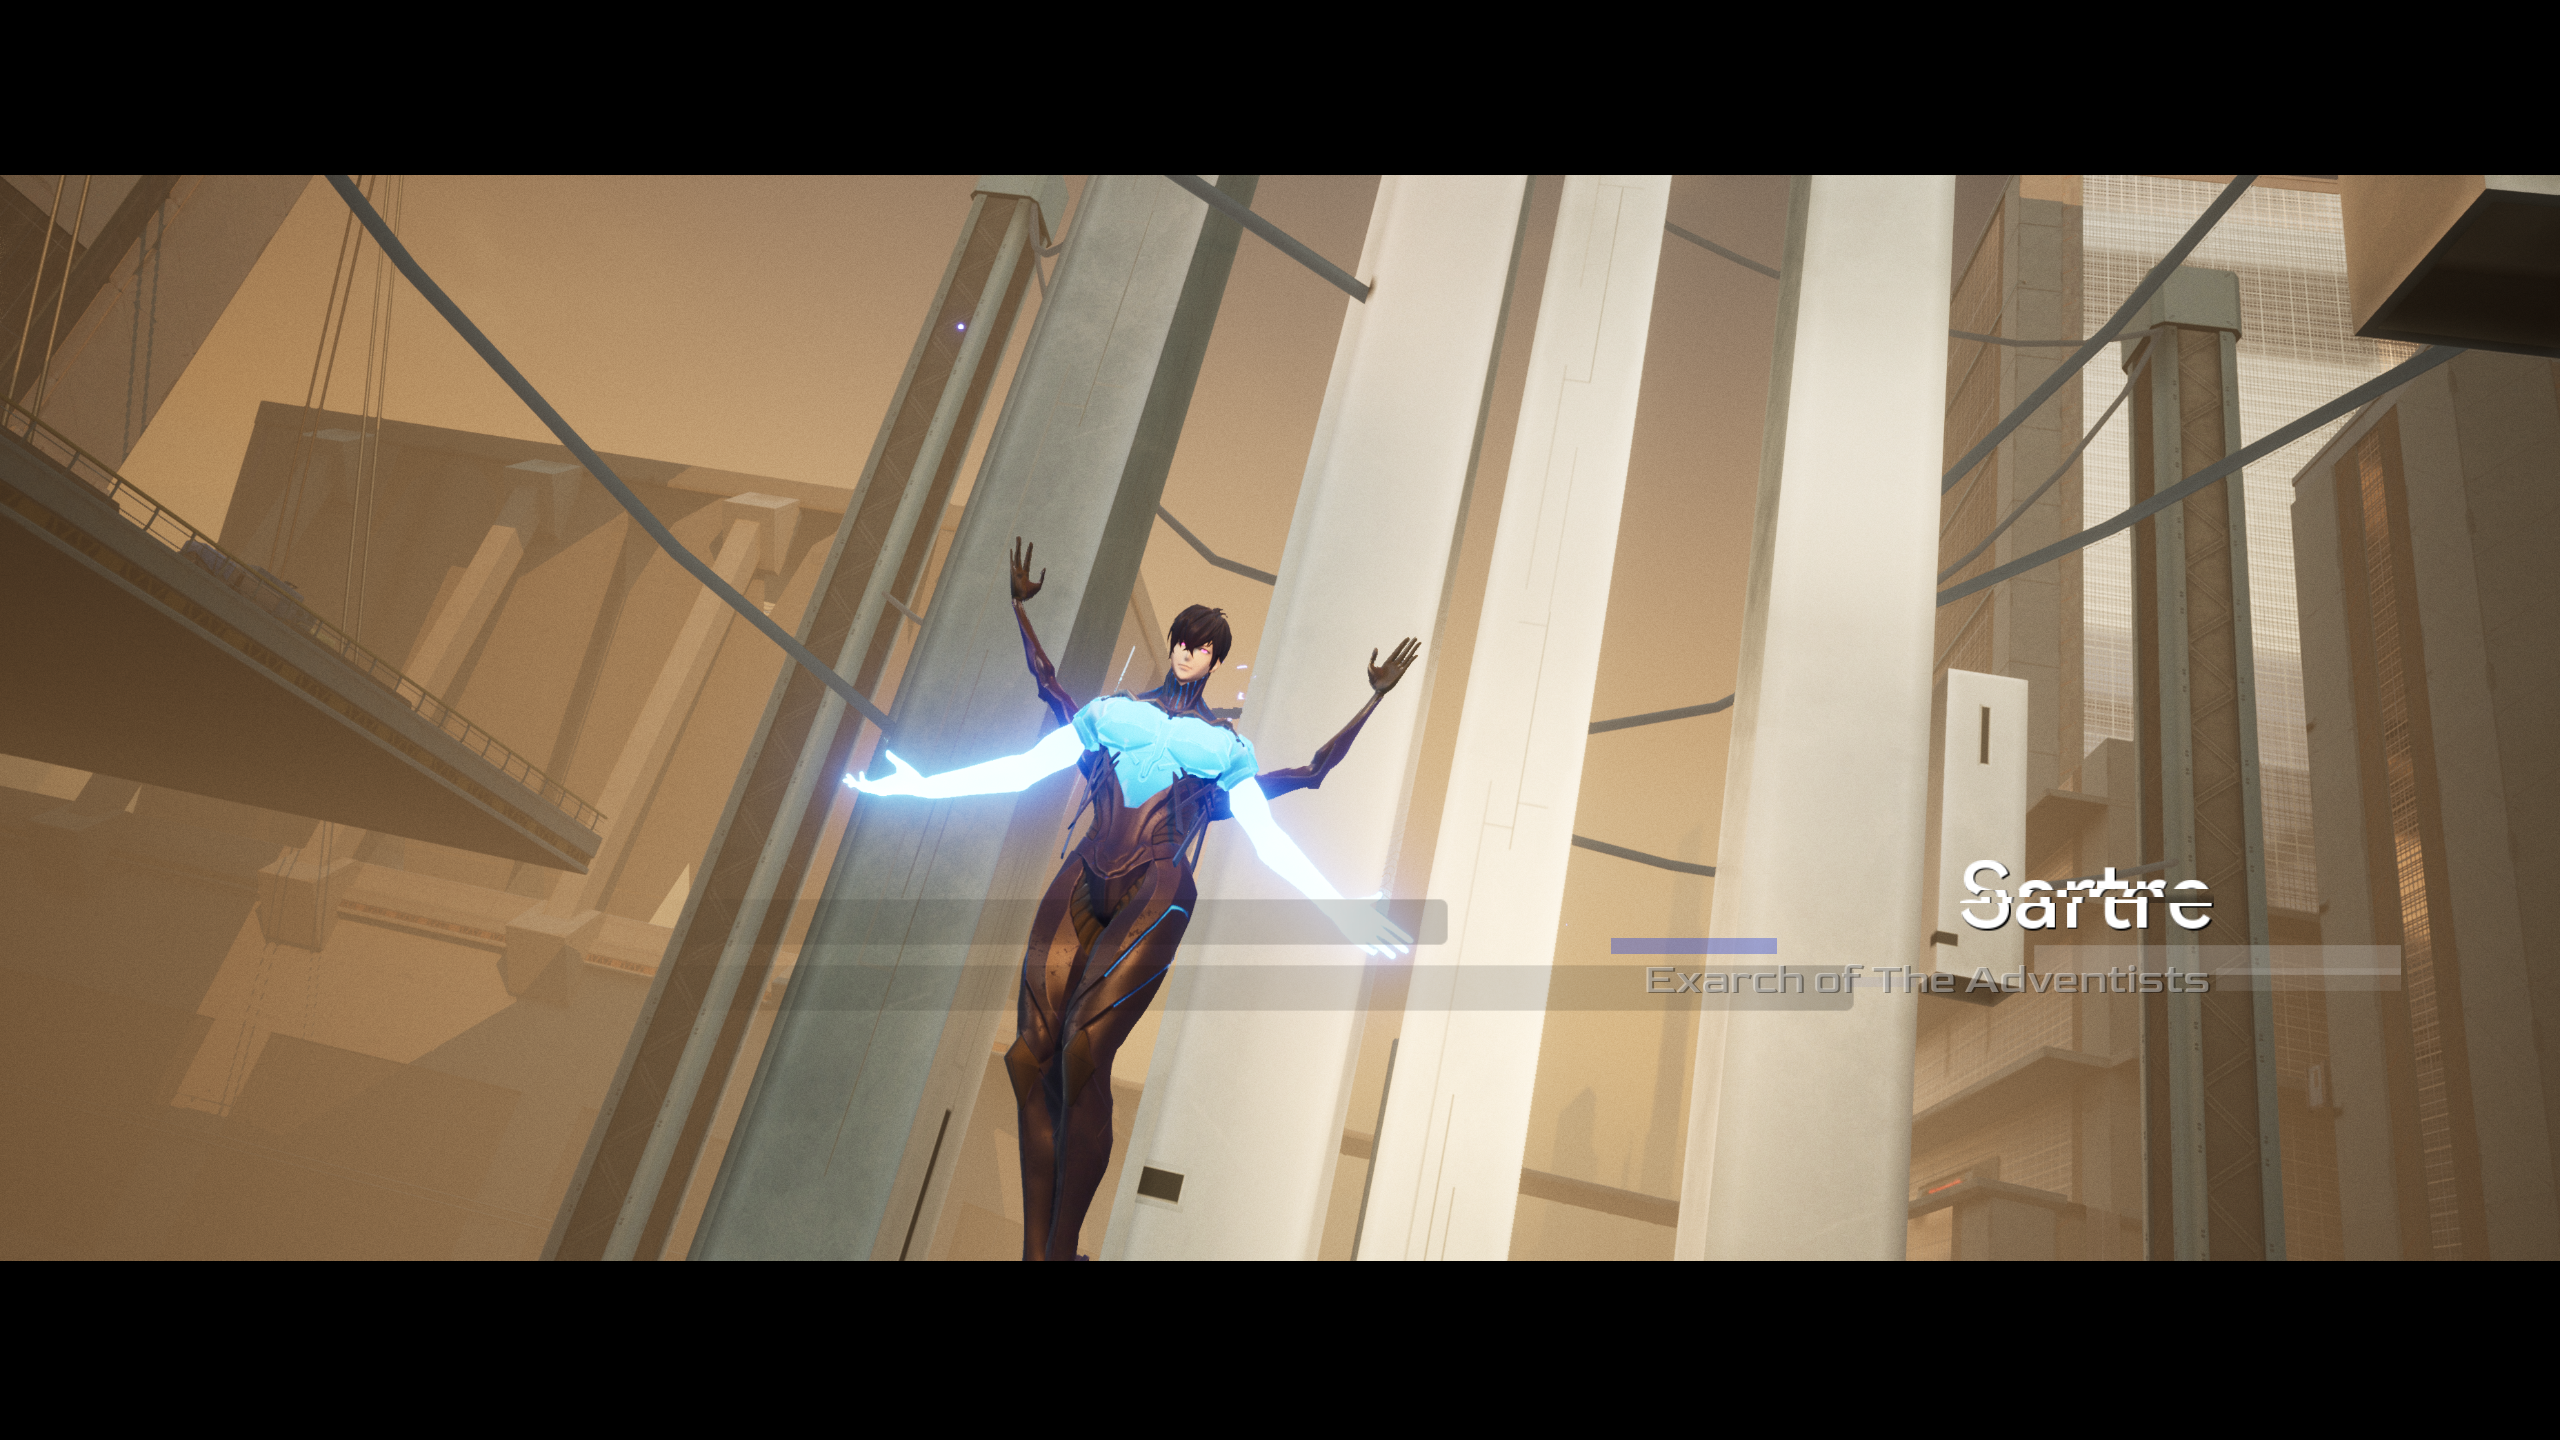
Exarch of the Adventists, controller of Beauvoir System. High-ranking personnel who is in charge of all internal affairs in Containment Zone Aleph.
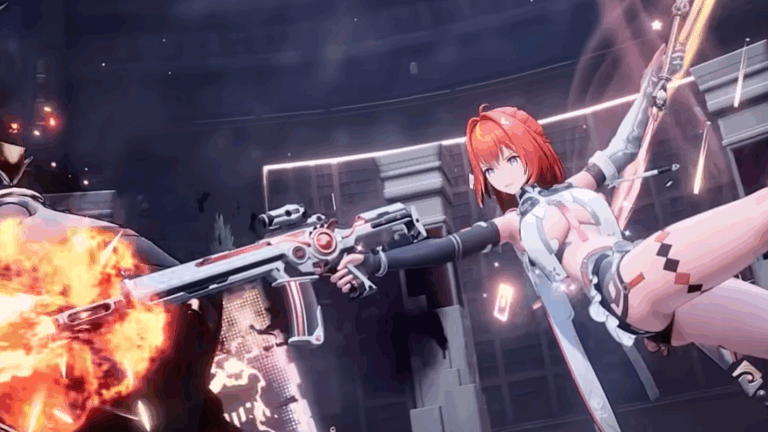
Sartre is a human boss who first appears as the chapter 7 boss. He plays similarly to Beauvoir-13, but has his own unique features.
Back to Neural Simulation overview
Behaviour and Attacks
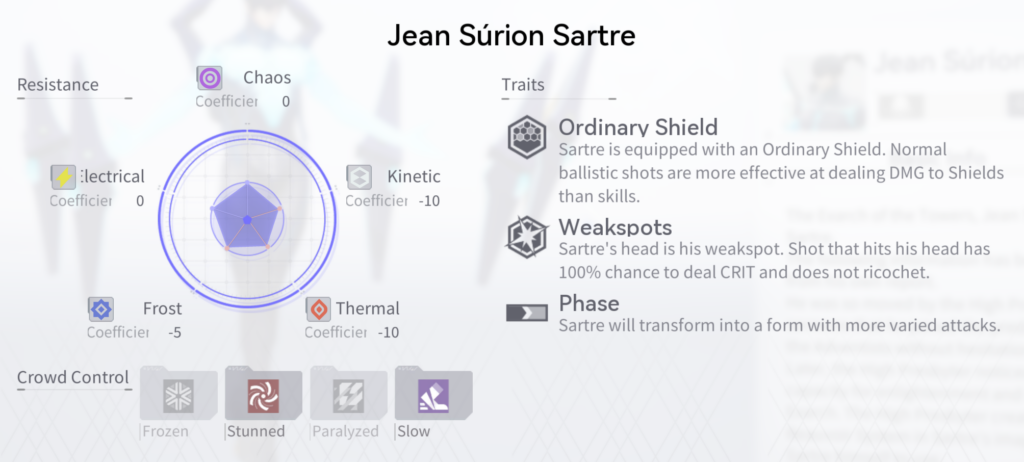
Sartre has three phases, separated by an invulnerability state between each. He also begins combat with a shield.
During combat, Sartre will teleport around the arena, leaving behind floating mines.
Phase 1
This phase lasts until his shield is broken. Sartre has access to several basic attacks. None of them are very threatening, are are all quite easy to dodge. They can be easily sidestepped or avoided with a dodge.
Dash Light Drill
Sartre fires a barrage of fast-moving bullets that deal damage but do not stagger. It is accompanied by two more barrages at higher difficulty levels.
Heavy Flares
Sartre fires three slow-moving “flares” that deal damage but do not stagger.
Fans
Sartre fires two fans of homing projectiles that deal damage but do not stagger.
Clones
Sartre will also summon minions that can replicate one of the previous three attacks. At higher difficulty levels, Sartre summons two instead. These attacks are similarly quite easy to dodge.
Penetrating Light
Sartre summons a field of blue lasers. These blue lasers deal a small amount of damage, but do not stagger. After a delay, larger white lasers will fire where the blue lasers were, dealing damage and knocking back operatives. At higher difficulties, all white lasers will fire at once.
Casual players: The delay between the two lasers is long enough to safely get out of the range of the attack. Not very threatening.
Speedrunners: As this attack forces you to reposition or time a dodge at the right moment to avoid being knocked back, it may be difficult to do so while still maintaining DPS. Don’t be afraid to reset a run if you mess up. As well, make sure not to take evasive action until the initial blue laser fires, as Sartre will continue to adjust his aim until that point.
Theater Stairs
Sartre summons rings of bullets that expand out from him. These bullets do not stagger. At higher difficulties, Sartre fires seven rings instead of five, and each ring will move faster.
Casual players: Very easy to dodge, just run out of the range of the rings.
Speedrunners: You can probably just facetank these to DPS more as long as you don’t get hit too much.
Phase 2
Once Sartre’s shield is depleted, he will enter an invulnerable state and teleport out of the map, leaving behind multiple minions that will each target an area on the ground to fire a laser at. Being hit by the laser will stagger you. After this attack, he will teleport back into the map and transition to phase 2.
This is a soft HP trigger.
Casual players: pay attention to the marked areas on the ground, and be ready to dodge. If you time it right, you can avoid every laser with a single dodge.
Speedrunners: See the section on skipping mechanics in the Strategy section.
Sartre retains all of his attacks from phase 1, but also gains a new one:
Rotating Curtain
Sartre fires arcs of bullets outward. These bullets do not stagger. Sartre seems to always cast this attack right after phase 2 begins.
Casual players: Don’t be afraid to hide behind the terrain pillars and peek out to still do damage while avoiding the bullets.
Speedrunners: The bullets don’t do a lot of damage, so just facetank them and enjoy your free DPS window on a stationary Sartre. Also, see the section on skipping mechanics in the Advanced Strategies section.
Phase 3
Once Sartre reaches 50% HP, he will once again teleport out of the map and summon minions. This time, they will charge up an attack that affects the majority of the map, dealing large damage and knocking you back. After this attack, he will teleport back into the map and transition to phase 3.
This is also a soft HP trigger.
Casual players: The attack doesn’t affect the edges of the map, so just run out of its range and enjoy a breather where you can reload and heal up if needed.
Speedrunners: See the section on skipping mechanics in the Strategy section.
Like with phase 2, Sartre keeps his existing roster of attacks while also bringing three new ones.
Sword Slash
After transitioning to phase 3, Sartre locks your active operative in place for a period of time, preventing them from moving. After a delay, he summons and swings a large laser downwards, dealing huge damage and knocking you back.
While you can swap to one of your supports to have them tank the attack, you can also dodge right as the laser swings downward to escape mostly unscathed.
The timing window for this is more lenient than you think! Of course, please remember to keep attacking Sartre while you wait for your chance to do this.
Chaos Curtain
Sartre also gains an attack that’s like Rotating Curtain in phase 2, but much more chaotically arranged.
The same advice about Rotating Curtain applies here.
Bullet Vortex
Sartre summons a large "tube" of bullets that fire towards you. Fortunately, they move slowly enough that you can casually sidestep them.
Strategy
Shield: 849,427
HP: 1,132,423
Sartre on the whole is one of the easier Neural Sim bosses, and is really a floating pinata for you to beat down once you learn his attack patterns. Thus, there isn’t a lot of advanced strategy, mostly boiling down to “shoot him really hard and really fast.” That being said, there are a few things you can do to speed up your clear.
During the invulnerability states between phases, Sartre actually has a brief window where he can be stunned. If you stun him during this period, he will no longer teleport out of the map, allowing you to continue attacking him in that time. Operatives with easily-accessible stuns on their support skills include Haru - Absconditus and Eatchel - The Cub. Alternately, you can also sneak in some burst damage to potentially even finish him off.
By timing the activation to when Sartre points his hand in the air, you can reliably land the stun with Haru - Absconditus and knock him out of the air, where you can then keep dishing out punishment. Other operatives may have different timings, but it shouldn't be too different.
Sartre also will drop his invulnerability while on his "balcony" before he teleports back into the arena.
While on the balcony, Sartre drops his invulnerability four seconds after the last ground attack fires in phase 1, and also four seconds after the detonation in phase 2. If you're using Yao - Winter Solstice's ultimate, this means you should begin charging up your shot three seconds after to account for the charging time. Waiting until the screen shake ends from the phase 2 detonation, then casting Tess - The Magician's support skill (don't cancel it) will also let you fire immediately after it ends with correct timing.
Combined with the previous gap, you can elect to just shoot him during those windows instead, letting you keep up DPS while also not having to bring a Stun support.
Also, it seems that Rotating Curtain can be cancelled early if you deal enough damage. It’s not super useful for speedrunners as you typically just facetank or sidestep the bullets anyways, but it’s good to keep in mind.
Team Building
Sartre starts combat with a shield, which gives gun damage DPS operatives a helpful head start on damage. However, operatives with big burst damage (Cherno - Enigma, Siris - Ksana) can take advantage of the gaps in his invulnerability phases to speed through the fight.
As for supports, Sartre doesn’t demand anything specific, so you can run all buffers or offensive utility and do just fine. Keep in mind that he is only vulnerable to Slow and stuns, so Acacia - Redacted gets extra value here. Casual players can also utilise Siris - The Goldfish here to great effect, as her support skill can block many of Sartre’s attacks for those who struggle to dodge them. Finally, Haru - Absconditus or Eatchel - The Cub can also be used to cancel invuln phases as previously noted. This can shave precious seconds off your clear time, even while considering their lack of utility elsewhere in the battle.