Table of Contents
Neural Simulation (“Neural Sim” or “NS” for short) is a game mode where you fight one of two bosses that change weekly. Your goal is to defeat both bosses as fast as possible.
Basic Overview
The Neural Simulation menu can be found in the Dispatch section of the main mission menu.

Once in the menu, you’ll see the following UI elements:

- The two bosses on rotation in the current Neural Sim period, click on the boss you want to fight to switch to them
- Time left in the current Neural Sim period. Neural Sim periods always end at the same time on the daily reset of each new in-game week. After a Neural Sim period ends, this timer will instead count down the time until the next Neural Sim period opens. Neural Sim periods always begin at 2:00AM UTC on Tuesday (convert to your time zone)
- Boss description. The bottom of the boss description will list which Control effects it’s vulnerable to (though you can also find a full table of which bosses are vulnerable to which Control effects further down on this page).
- The current difficulty level of the selected boss. Difficulty levels start at one and reach a maximum of five, and are independent of the difficulty level of the other boss. Once you go up a difficulty level for a boss, you can not go down difficulty levels for that boss in the current period (not that there’s any reason to).
- Evaluation attempts remaining. Clearing the first four difficulty levels of a boss requires an evaluation attempt to be consumed. You will have a limited number of evaluation attempts for the first day of the Neural Sim period only; you will have enough to clear the first four difficulty levels for both bosses from the second day onward. Attempting difficulty level five for a boss does not require evaluation attempts.
- The lineup of characters and equipment that has produced the highest-scoring run for that boss.
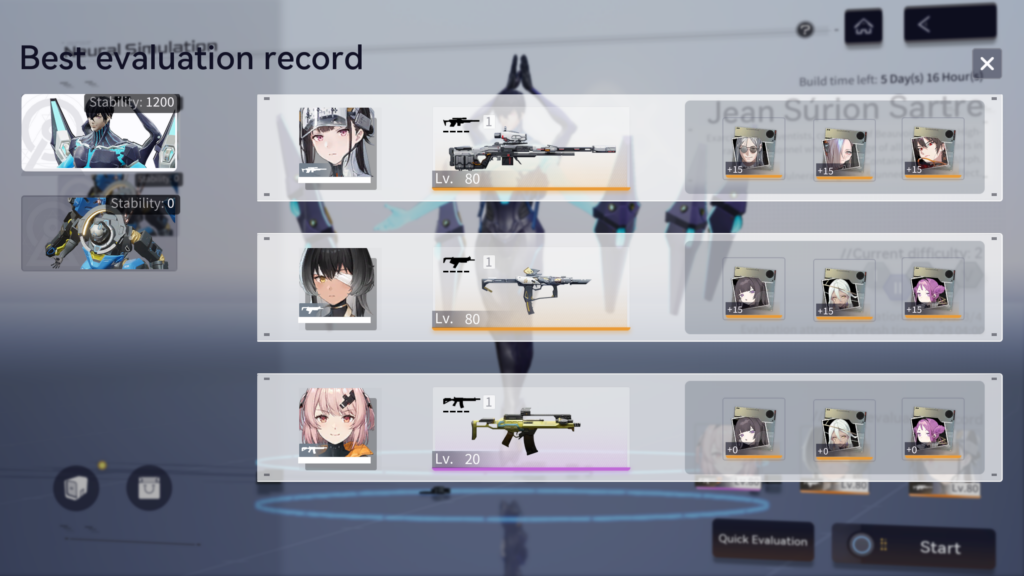
Clicking on the lineup will bring up a menu with more details. Keep in mind what you have used on a certain boss is very important, as everything used (operatives, weapons, and logistics pieces) can no longer be used on the other boss during the same Neural Sim period unless another run with a different lineup is confirmed for the first boss.
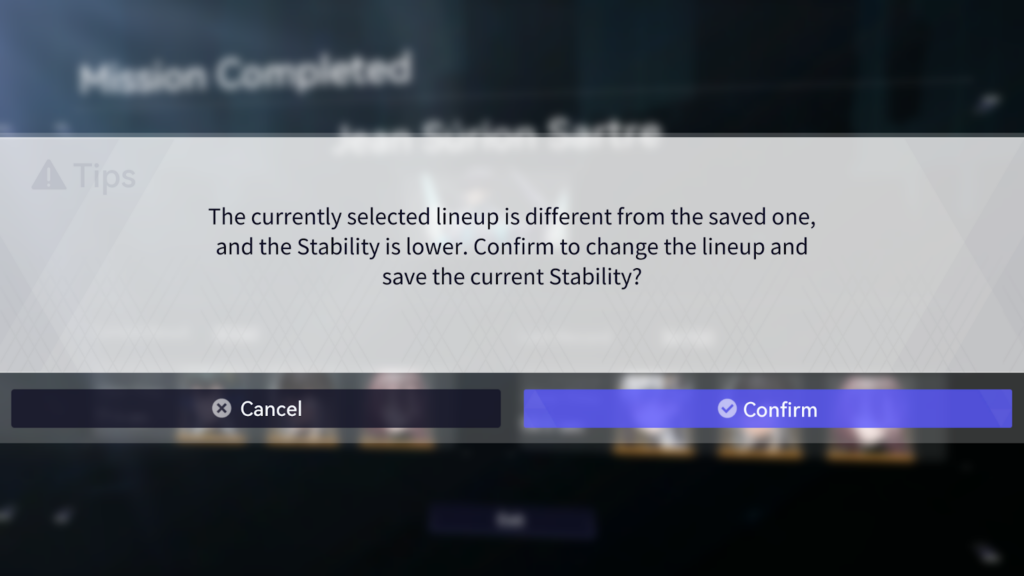
This run does not have to score higher than the existing one.
If you have not fought the boss yet, the lineup will be blank, obviously.
- Buttons to proceed towards fighting the boss or performing a Quick Evaluation. Quick Evaluation will automatically clear a boss that is at one of the first four difficulty levels and grant you the associated score. Quick Evaluation cannot be used on Difficulty V bosses.
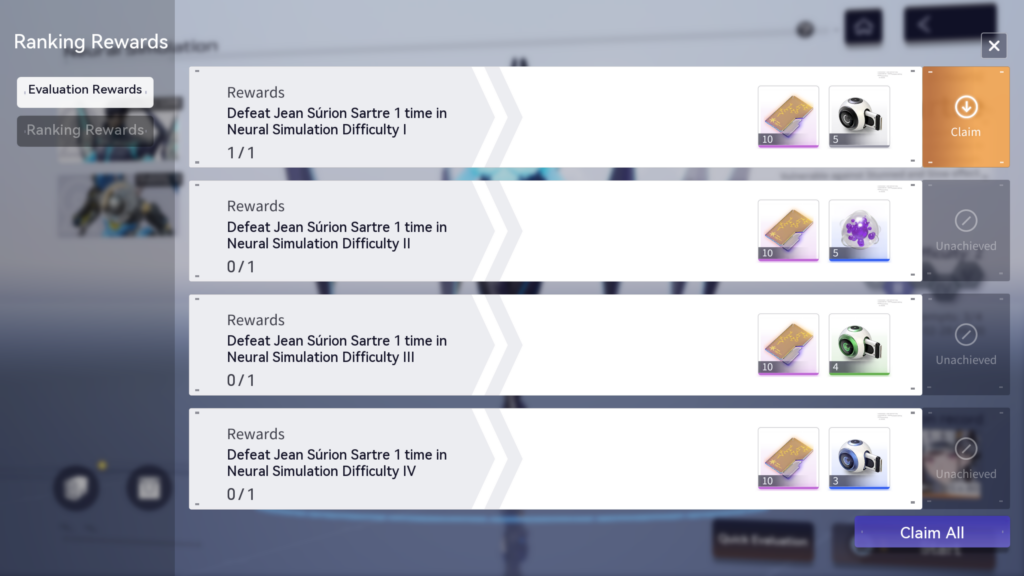
- The Neural Sim rewards menu. Here you can view and collect rewards for completing Neural Sim clears, as well as view your placement on the ranking leaderboard along with the rewards for each ranking bracket.
- The Neural Sim shop, where you can use the rewards obtained to purchase various items. You can also access this shop via the main shop interface from the home menu.
Special Modifiers

Neural Sim battles have unique modifiers that will affect the stats of your operatives. These effects change every week, and include both individual modifiers for each boss, as well as a single modifier for the week that affects both boss battles. Before you fight a Neural Sim boss, it’s important to know what modifiers are in effect for that battle and plan accordingly if necessary.
As well, bosses will gain upgrades to their abilities to make them more difficult or time-consuming to battle. These upgrades are unique to each boss but stay the same between appearances.
As you go up in difficulty level, more modifiers will take effect, and the boss will gain access to more upgrades.
Scoring and Ranking
For the first four difficulty levels of a boss, the score obtained from clearing that difficulty level is a set amount regardless of the time taken to clear. However, Difficulty V works differently. The maximum score possible is 40,000 but with your score decreasing by 100 for every second taken to defeat the boss. For example, killing a boss in exactly 60 seconds will subtract 60×100=6,000 points from 40,000 to produce a score of 34,000. Therefore, achieving victory as quickly as possible is important to obtaining high scores and ranking placements.
Strategy
Neural Sim is a score-based game mode, with higher scores correlating to faster fights. Thus, Neural Sim requires a slightly different mindset compared to general content, which is typically much easier. Since you will be exclusively fighting bosses, there are also other things that should be taken into account.
Control Effects
Bosses in Snowbreak have a period of time (roughly 14 seconds) where they cannot be affected by a Control effect after one is applied.

This lockout period is visually represented by a golden yellow bar underneath the main boss health bar, which depletes over time until disappearing to signify that the lockout period is over. The lockout also does not begin counting down until the Control effect expires.
Furthermore, not all Control effects work on all bosses. Most bosses are only vulnerable to two types of Control effects at most:
| Control Effect | Generally Affected Groups | Specific Bosses Affected |
|---|---|---|
| Stun | Humans | • Esther • Sartre • Will (and Flameblade) • Katya (and Frostcap) • Gavin • Joseph (and Hardened) • Shadow Predator |
| Freeze | Titans | • Beauvoir 13 • Hela (and Ragethorn) • Fiend - Foehn • Njall (and Murkflux) • Lament of Yehrus • Nightborne Phantom • Snowbreak Aku-MA |
| Paralyze | Mechanical Enemies | • Ni-Type Mech (and Falconer) • Cerberus (and Pyroclast) • Teumessian • Joseph - Hardened • pi - Purified |
| Slow | All | All except: • Snowbreak Aku-MA • Iron Ouroboros • theta - Inversion |
Note that every Neural Sim boss can be affected by Slow with very few exceptions, which makes operatives who can effectively apply it universally useful.
Team Building
Having a strong team with good synergy is important to doing well in Neural Simulation, as you want to be able to deal as much damage as quickly as possible while countering any applicable boss mechanics. To learn more about team building see these guides:
- Basic Team Building
- Advanced Team Building and operative reference guide
As well, it is important to build your operatives properly to get as much performance out of them as possible. Check the build guide to ensure that your team is running at max potential!
A Quick Note on Healers And Other Defensive Supports
Neural Sim does not reward you for clearing with extra health. In fact, there is a weekly modifier that may show up which reduces your damage while over half health, so you may find that not taking damage is actually a demerit in some cases. Either way, there’s no reason to worry about taking damage as long as the attack doesn’t stagger or knock back the active operative (time loss) and none of your operatives die.
This means that healers and other defensive supports should only be used if absolutely necessary, and more offensive supports that directly buff your active operative or debuff the enemy are always preferred when possible.
Know Your Enemy
Being familiar with a boss’ attack patterns, phase changes and their HP thresholds, and other quirks they might have is important to being able to defeat them as quickly as possible. Don’t be afraid to rerun a boss to figure out what attacks you have to dodge and which ones you can sidestep or facetank, or to see how long you can spend attacking before you have to dodge an attack.
Boss Guides
- Beauvoir 13
- Cerberus
- Esther
- Fiend - Frostwind
- Fiend - Foehn
- Gavin
- Hela
- Joseph The Bison
- Joseph - Hardened
- Katya
- Katya - Frostcap
- Lament of Yehrus
- Morpheus - Vainbloom
- Nascent Woden
- Nightborne Phantom
- Ni-Type Mech
- Ni-Type Mech - Falconer
- Njall
- Pact of Antinomy
- pi - Purified
- Sartre
- Teumessian
- Will - Flameblade