Table of Contents
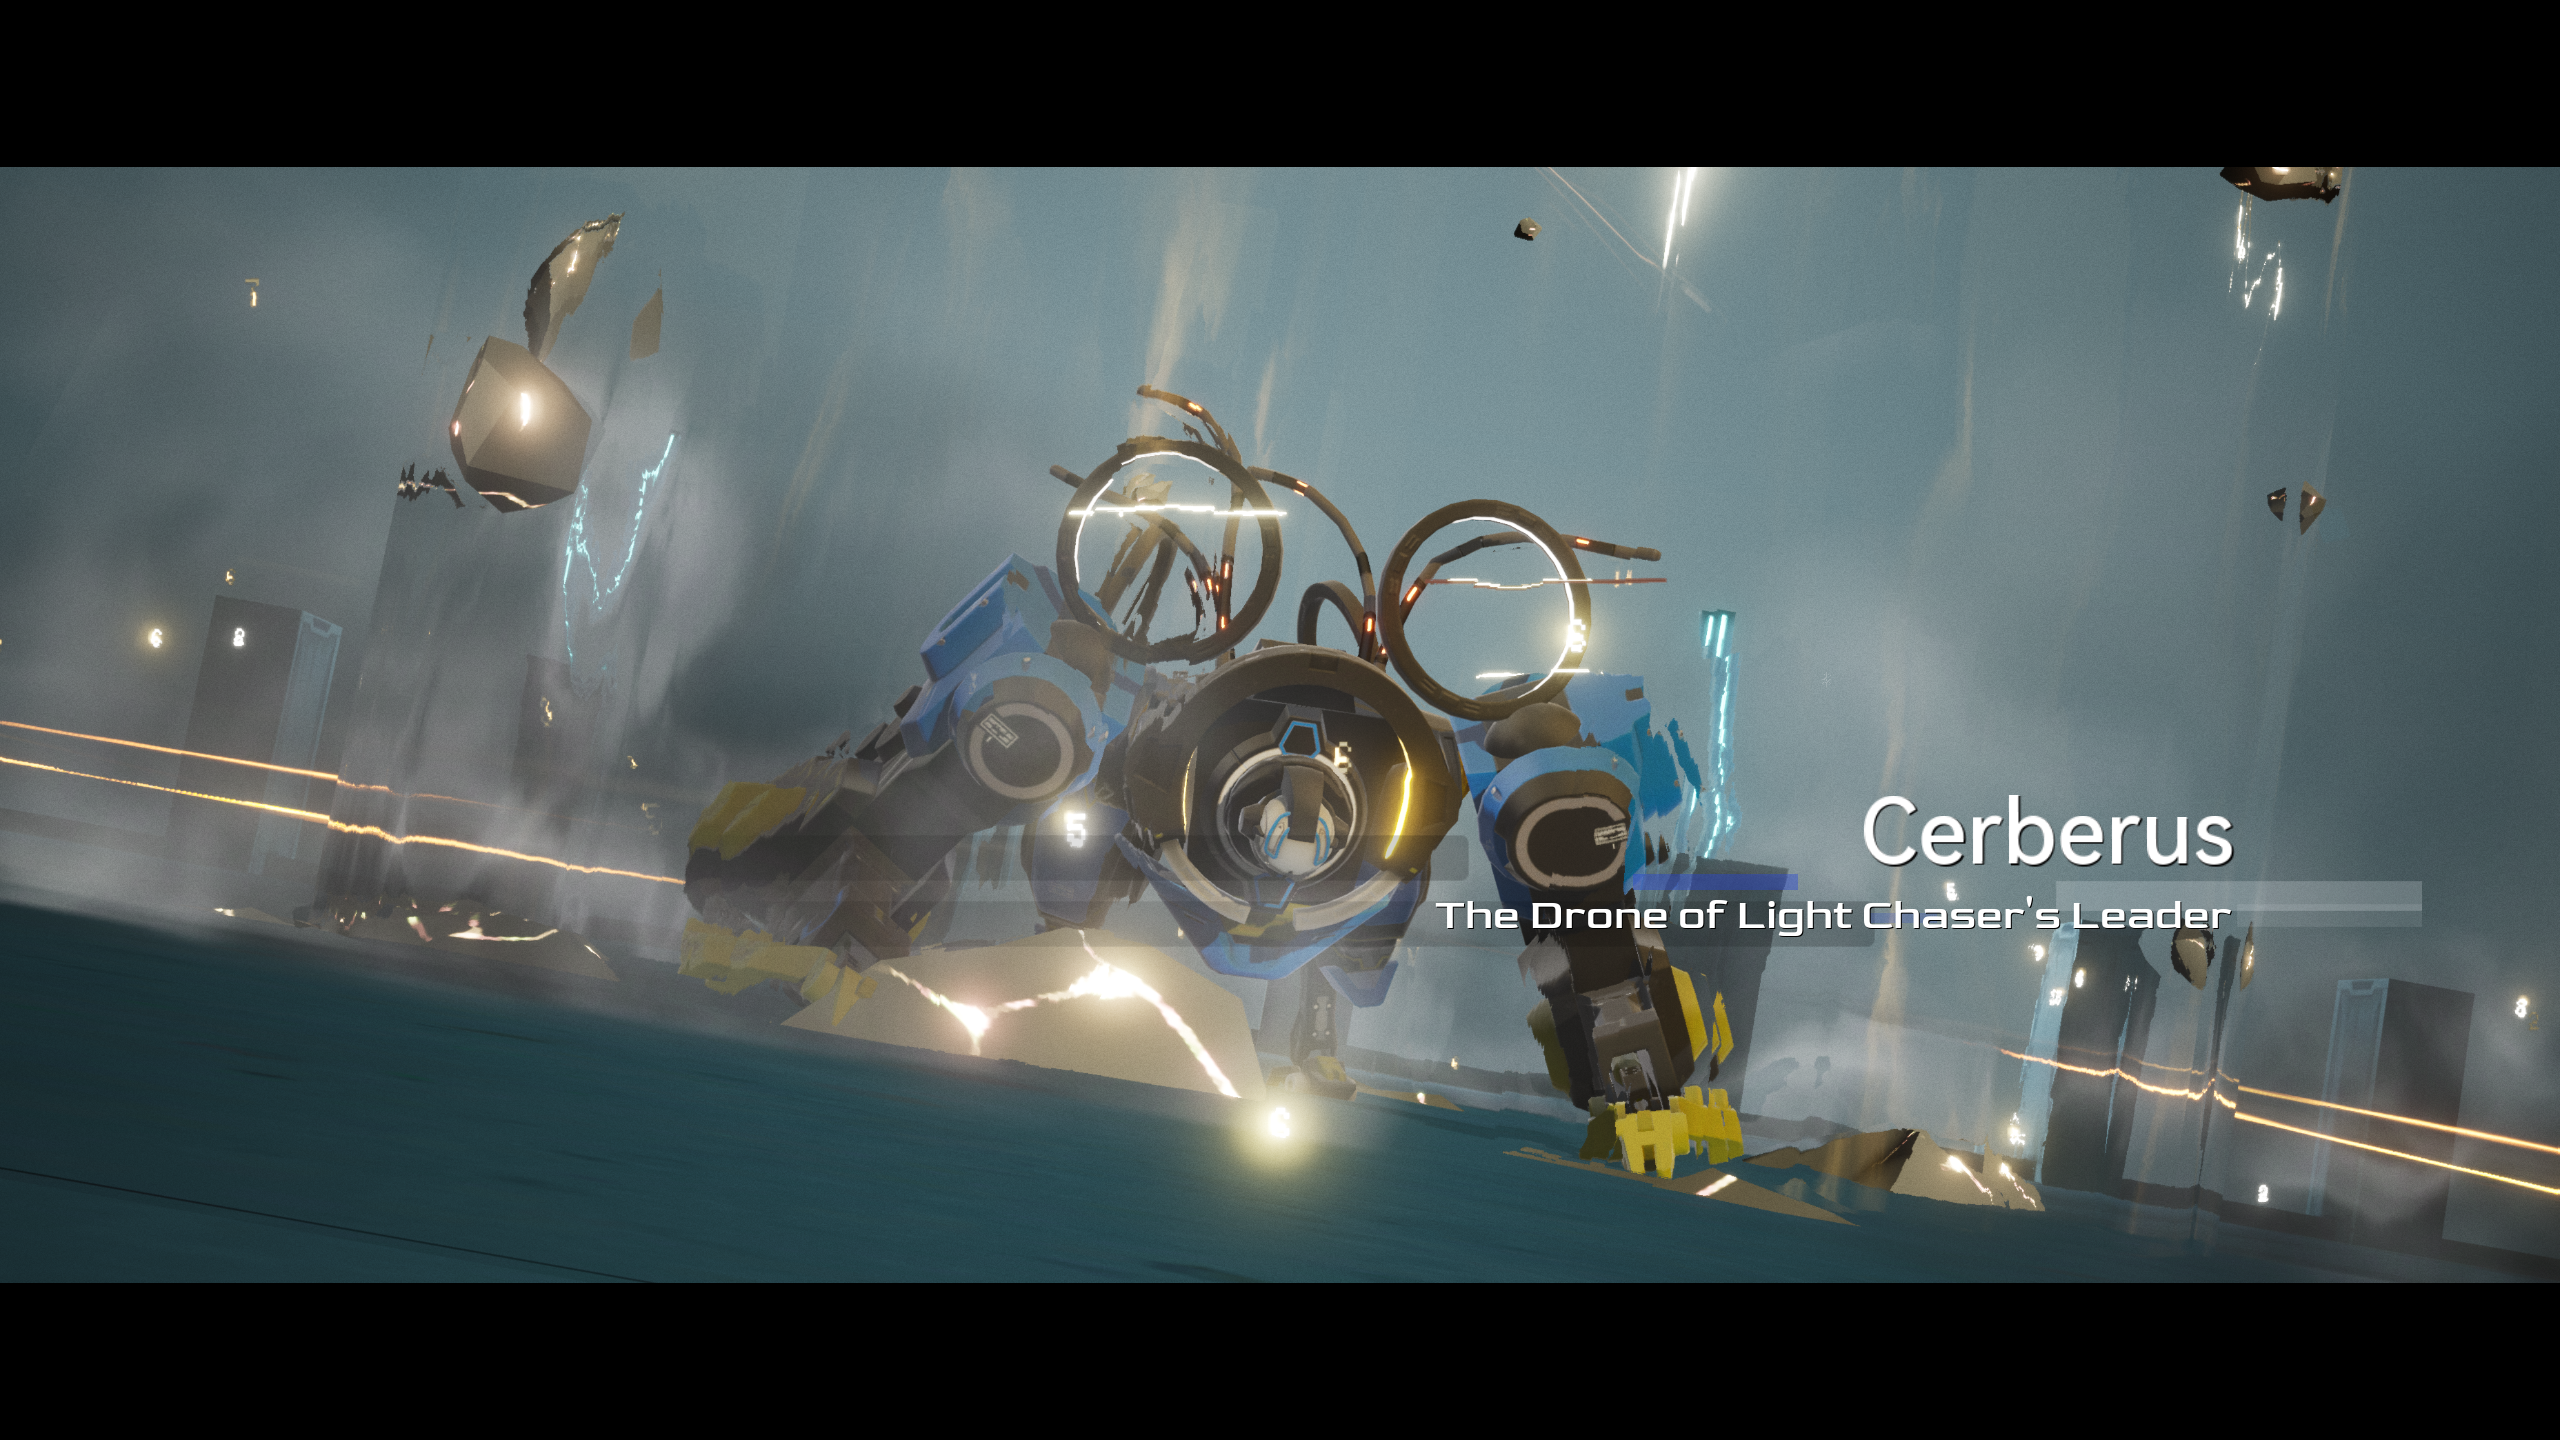
Inspired by the three-headed dog in myths, Cerberus is mounted with a core system known as the “Ripper” to provide it with a variety of forms and flexible attack methods.
Cerberus is a mechanical boss who first appears as the chapter 8 boss. It strings together attacks with little time in between, making it a challenging fight for the unprepared.
Back to Neural Simulation overview
Behaviour and Attacks
Cerberus has two “stances” that it can be in, each with its own unique attacks. Cerberus can transition between the two states at any time it is in combat.
Humanoid Stance
The first stance where it is upright on two legs is the stance that it always begins combat in. This is the easier of the two stances, so it is preferred that Cerberus stay like this. While Cerberus will fire more projectiles at higher difficulty levels, all of these attacks are very easy to dodge, and can simply be sidestepped for the most part, even while ADS’d.
Bullet Stream
Cerberus fires a stream of bullets at you. The bullets don't stagger, so you can afford to get hit by a few.
Stun Pillars
Cerberus can also send out pillars that move outward, dealing damage and staggering you if hit.
Missile Barrage
Cerberus can send out two types of missile barrages. One sends out a large quantity of smaller missiles. These do not stagger.
The other sends out a smaller amount of larger missiles. These will stagger you on hit.
Beast Stance
When Cerberus enters the beast stance, it will make a large leap towards you into the air before coming back down, knocking you back if you’re too close. You can apply Control effects to Cerberus right after it lands, but not during the windup or while it is in the air.
Laser Pounce
Cerberus jumps towards you, then fires a sweeping laser attack. There are two variants of this jump that it can make, with one including an extra swipe from its front leg during the jump that appears at higher difficulty levels. Being hit by any part of either attack will knock you back.
Casual players: Try to keep your distance from Cerberus to have time to react if it jumps on you. Also, make sure to dodge in the opposite direction that the laser is moving to ensure that you don’t get hit.
Speedrunners: Having to dodge at least once to avoid the laser kinda makes this an instant reset if Cerb pulls this on you. And that’s not including the chance of Cerb jumping right on top of you, trapping you under its torso, which is definitely a run killer.
Orb Barrage
Cerberus can also send out a large amount of orbs in one of two patterns. These do not stagger. At higher difficulty levels, more orbs are spawned.
Casual players: You can dodge the line attack with one well-timed dodge. As for the other one, try your best to weave in and out, as the pattern is predictable. Try to stay farther away to have more time to anticipate the motions of the orbs.
Speedrunners: Facetank it, this is the one attack Cerb does in beast stance that doesn’t stagger you. Just make sure you don’t eat too many and die.
Attack of the Clones
Once you reduce Cerberus to around 70% HP, it will leave the map. While it is gone, you are tasked with surviving ten attacks from clone versions of Cerberus. Once you do so, Cerberus will return to the map and resume combat. If you intend to apply a Control effect to it once it returns, wait for it to stand back upright, as Cerberus has a brief period where it is immune to Control effects after returning to the map.
The clones can randomly perform one of three attacks:
- A fan of small orbs that deal damage but do not stagger
- A single large orb that deals damage and staggers
- A melee headbutt, sometimes with a followup swipe from the clone’s front leg as an extra treat
Each clone will disappear once it finishes its attack.
Casual players: Be aware of your surroundings! Clones will usually spawn at the parts of the map that you aren’t looking at, so make sure to look around and make sure you aren’t about to get attacked from the back. Once you survive ten attacks, also make sure you aren’t in the centre of the map as Cerberus will drop down there, dealing damage and knocking you back.
Speedrunners: The faster you get through this, the faster you can get back to disassembling Cerberus. Thus, you want to make the clones attack as fast as possible. There’s not a lot you can do for the ranged attacks (they attack fast enough, and are the preferred spawns), but you can run up to the melee clones to make them attack earlier. You don’t really have to dodge all the attacks, but make sure not to take too much damage. As well, try to end up on the right side of the map relative to your perspective at the start of combat, as Cerberus lands facing that way which will allow you to attack its head.
It's actually possible to skip this altogether if you're able to instantly kill Cerberus in one hit before reaching the HP threshold.
Currently, the only operative known to be able to do this is Cherno - Enigma, and it does require a pretty invested setup. But man, does that pop look good.
After the clone minigame, Cerberus will be much more likely to enter beast stance. Additionally, Cerberus can also summon clones when transitioning from attack to upright stance, and also sometimes just because it feels like it.
These clones can perform any of Cerberus’ upright stance attacks.
While in beast stance after the clone phase, Cerberus can leave the map, with its presence being replaced by a glowing circle. If you break the circle before the timer at the top of the screen finishes counting, Cerberus will instantly take a large amount of damage and flop back onto the map in a downed state for a few seconds.
Casual players: Be careful of the clones that spawn at higher difficulty levels during this period, as they can kill or CC you, neither of which are particularly desirable. The circle counts as a part, so make sure your operatives are levelled as much as possible to destroy it quickly.
Speedrunners: Reset. Unless you’re running a shotgun main DPS (it's not worth it to bring a shotgun operative just for this scenario), the time needed to break the circle isn’t worth losing that time where you could be attacking Cerberus directly instead. Even with the HP loss on breaking the circle and the down state that it enters afterward, it’s still a net DPS loss (at least from my experience).
Strategy
Cerberus is thematically a very cool fight, but is very annoying to speedrun because of its beast stance. In beast stance, Cerberus uses attacks that are much more annoying to evade, and is almost permanently immune to Control effects, making it difficult to find effective DPS windows. If you’re willing to reset for a run where Cerberus stays in upright stance the entire time, you’ll likely find it to be your fastest run. However, this can take countless attempts if you succeed at all. Otherwise, there are not many optimizations possible beyond doing damage effectively.
It is worth noting that it's possible to apply control effects to Cerberus shortly after it returns to field when you finish the clone phase, but not immediately. Wait a second or two after it stands upright, then apply the control effect. Take advantage of this window of free DPS, because it might be the last one you get from that point onwards.
By the way, one and a half of Cerberus' difficulty modifiers just don't work. While in humanoid stance, It's supposed to release a shockwave when it jumps back and fire homing projectiles when it slides sideways, but it just... doesn't. Similarly, it also doesn't fire bullet barrages when it jumps back in beast stance, though it does follow up sideways stances with pounce attacks. This is great for you, the player, because it means fewer things to worry about. Just keep this between us.
Team Building
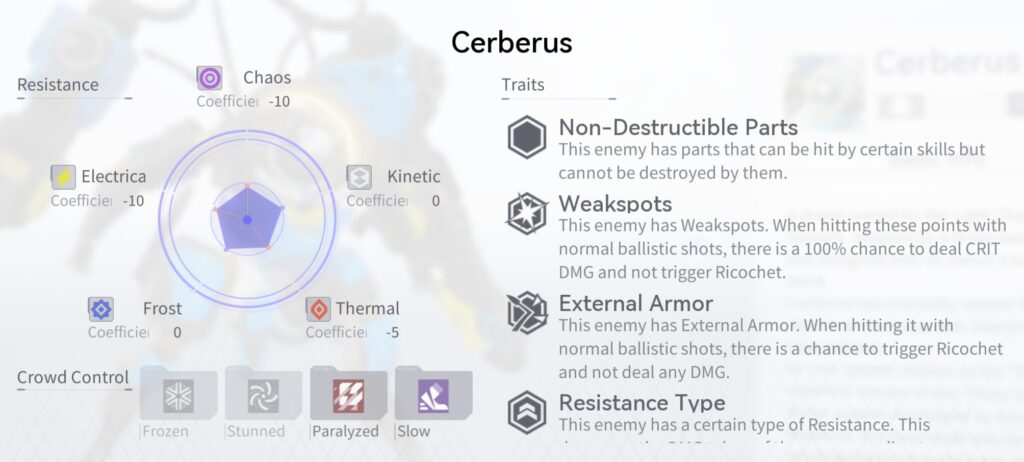
Being the nuisance that it is, Cerberus becomes a lot less of a headache when it isn’t allowed to attack. Bringing some source of Control will greatly help. Being vulnerable to Paralyzes and Slows means that Lyfe - Wednesday can be a useful support pick if Acacia - Redacted is out of service or otherwise occupied for the week. Even if Cerberus enters beast stance where landing a Control effect becomes much more difficult, you will usually get one or two uses to delay the stance transition. If you choose to use a skill damage-based or hybrid DPS, Enya - Exuvia is very useful, as it lets you facetank all of Cerberus' attacks without being staggered of knocked back - especially useful for its beast stance attacks.
While most strong DPS operatives will be able to do just fine against Cerberus, several stand out in particular. Yao - Winter Solstice can charge up her ultimate by shooting clones spawned during the clone phase, and quickly burst down Cerberus afterward with the help of Mauxir - Shadow Ka. As well, Chenxing - Ethereal Cloud also finds three parts on Cerberus that she can lock onto, enhancing her DPS output. Finally, the mobility of Marian - Swift and ability to lock onto Cerberus’ weak spot means that she can dance around Cerberus and deal effective damage even while it’s in beast stance.
And of course, Cherno - Enigma being able to potentially snap Cerb out of existence before it can even sic its clones on you makes her pretty good if your setup is strong enough, to say the least.